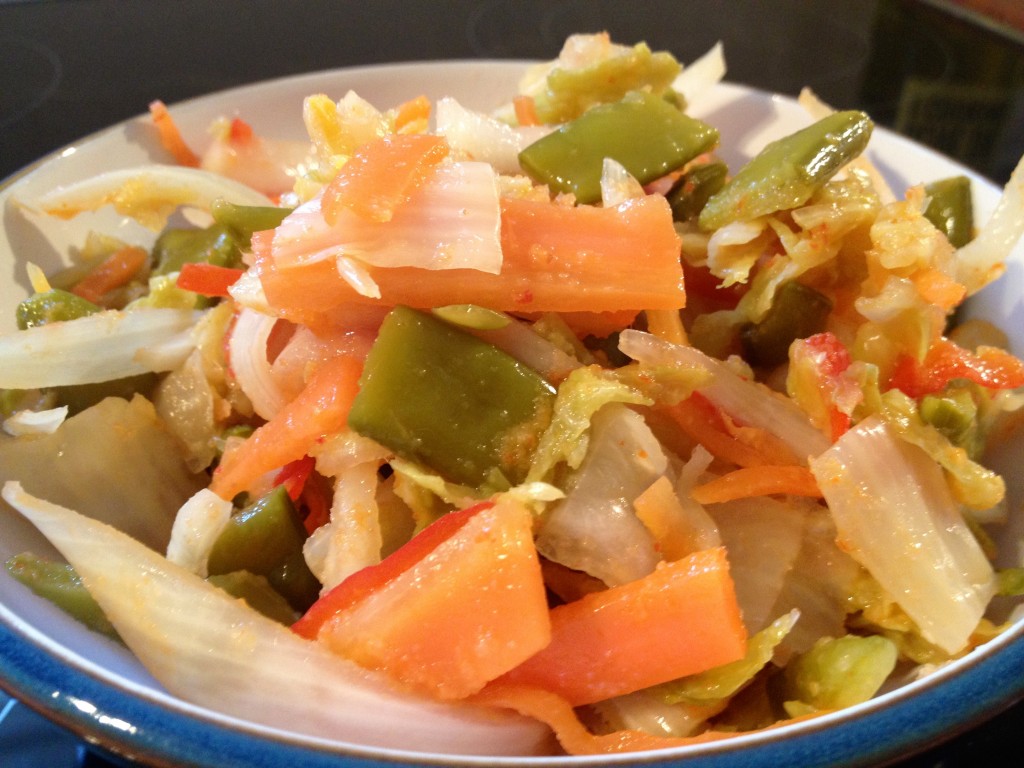
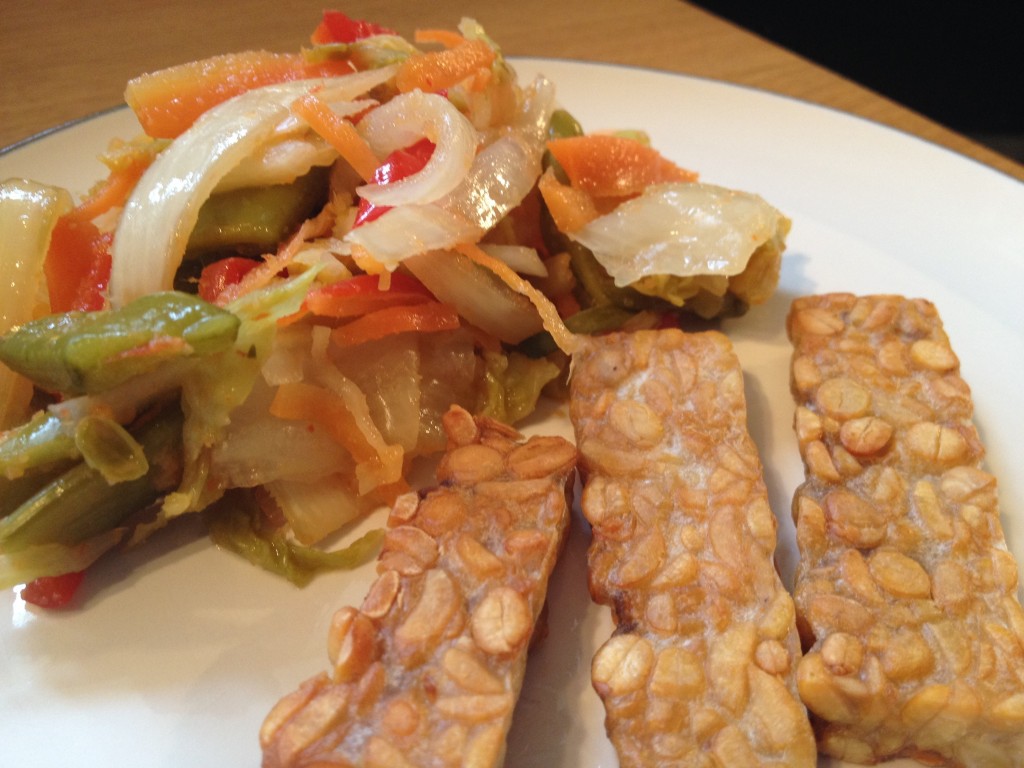
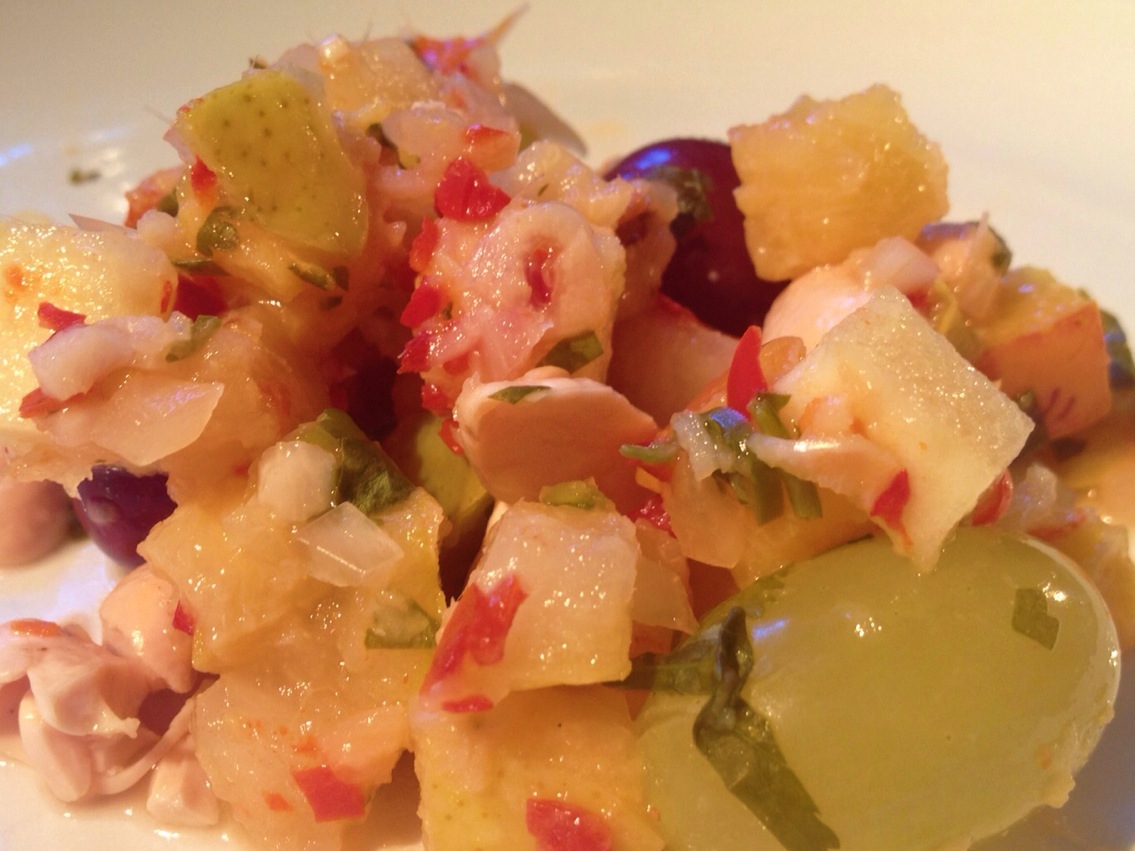
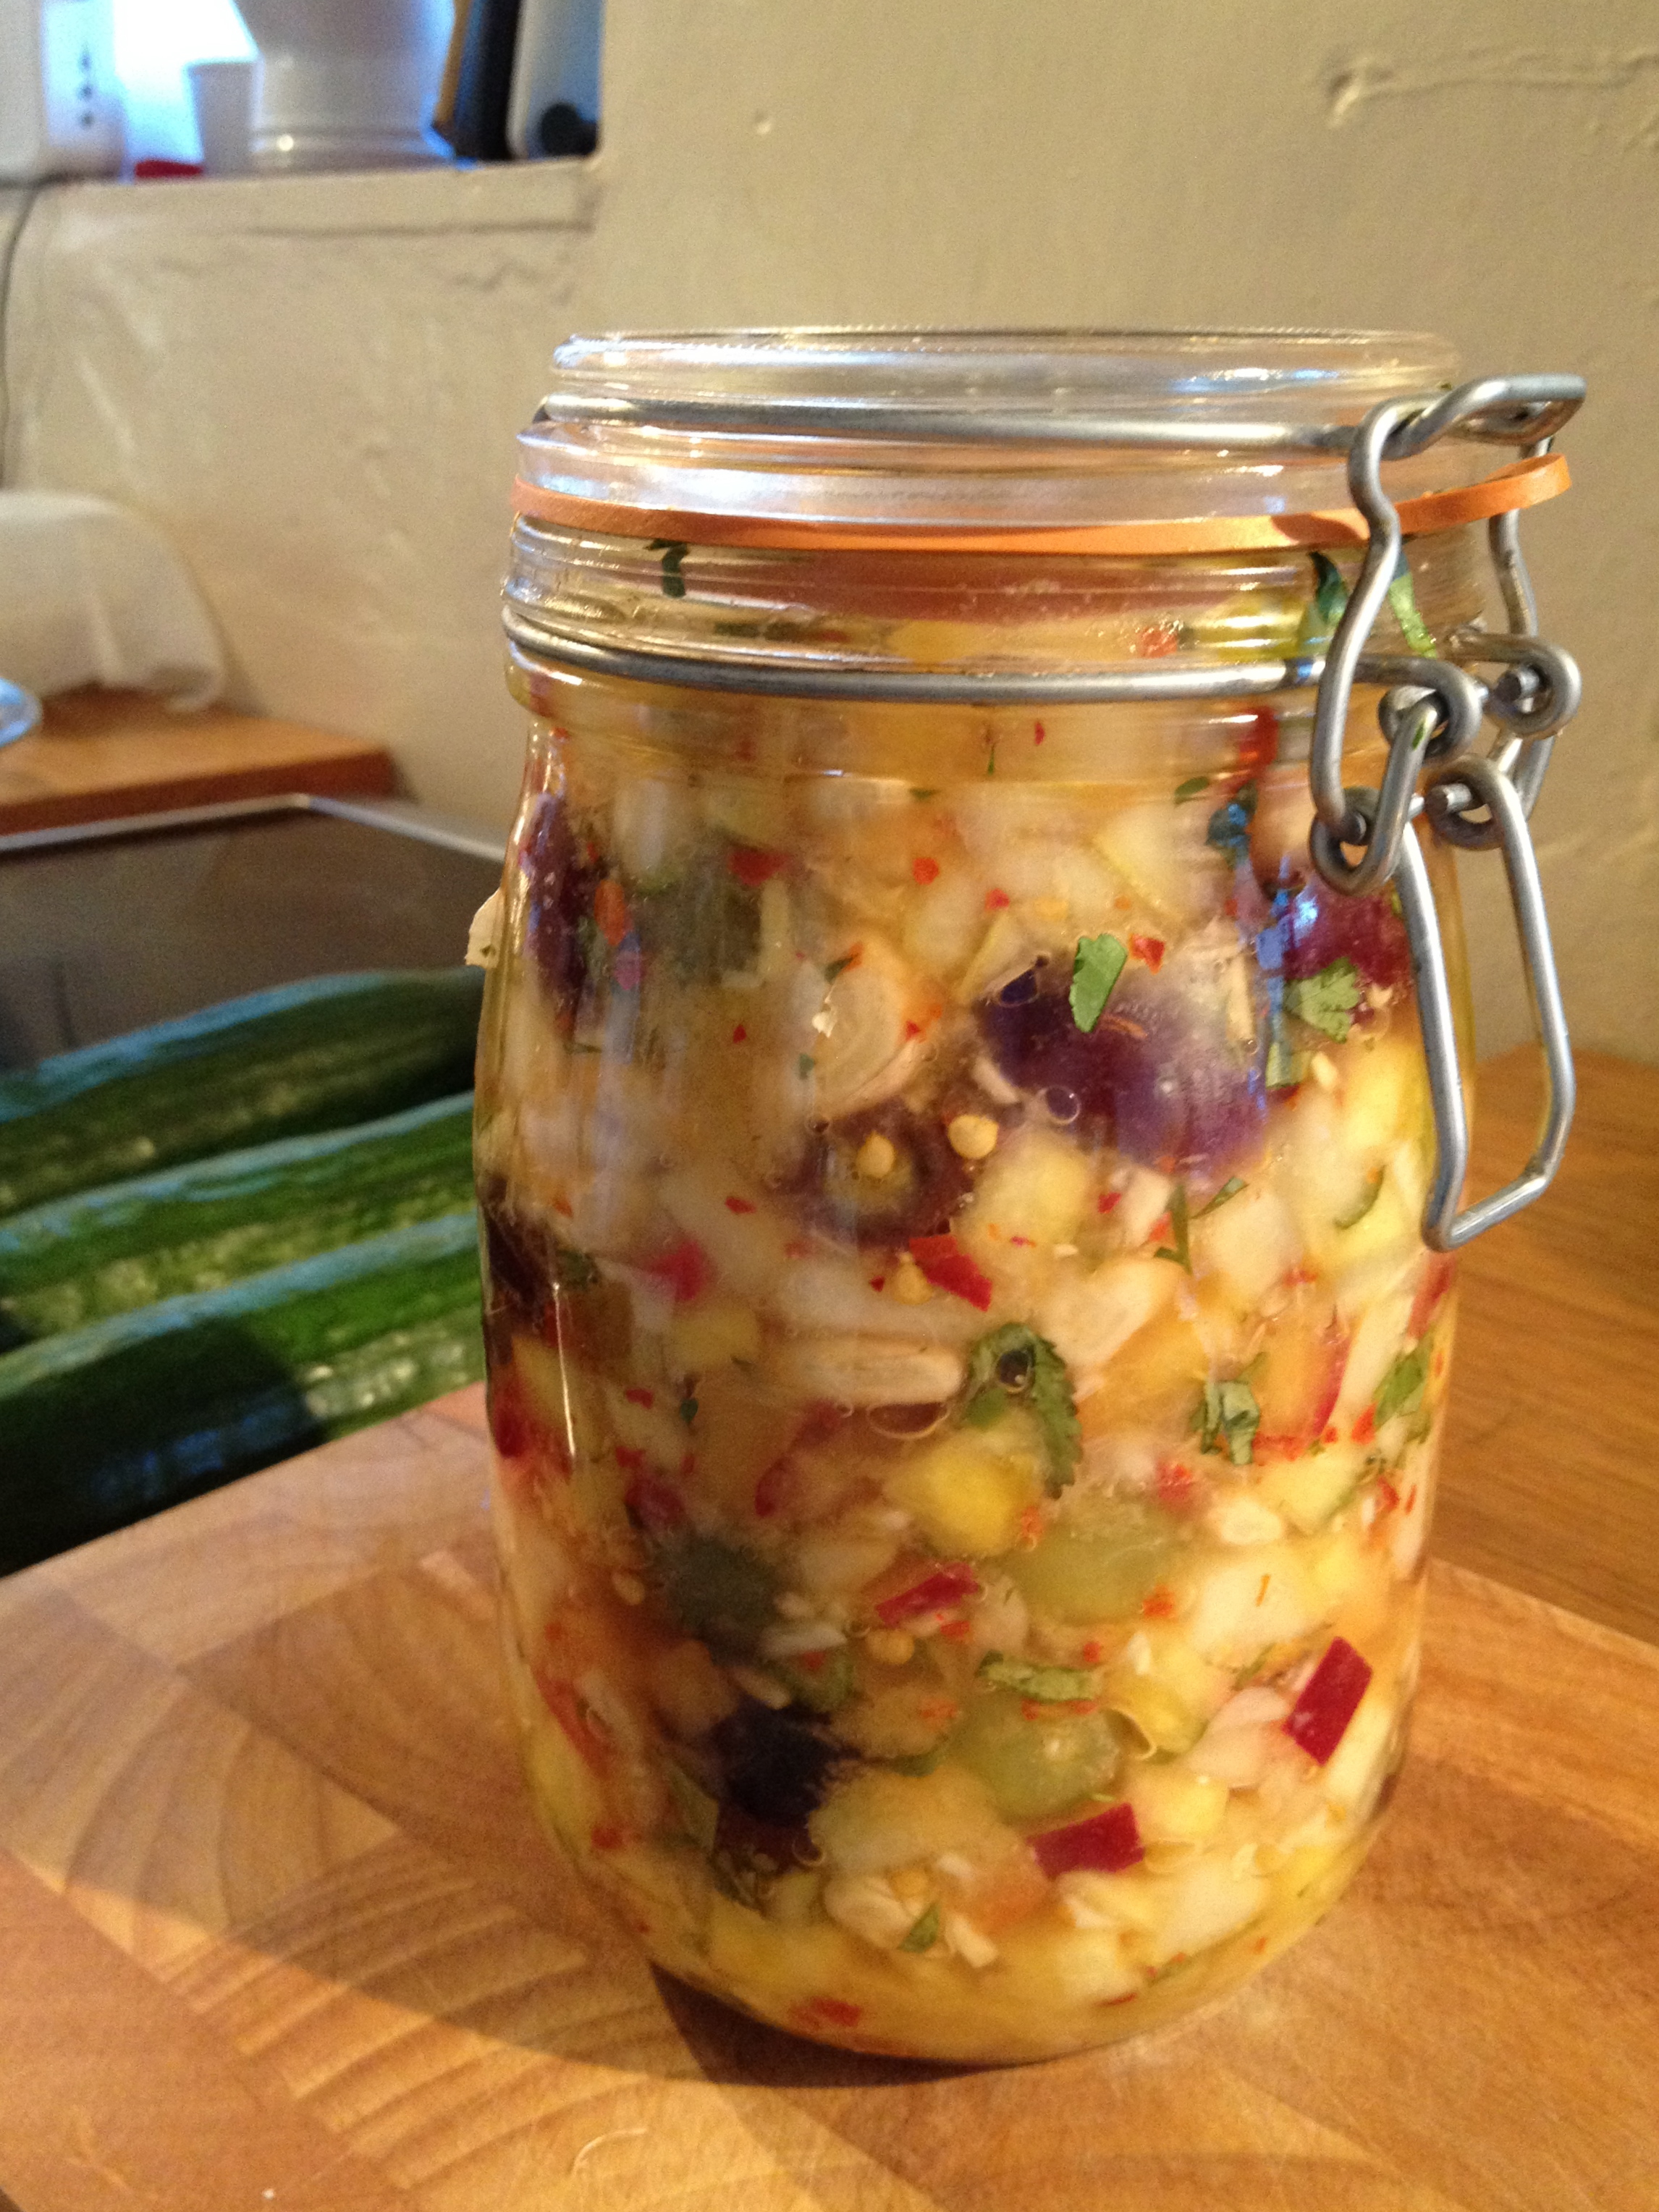
Kimchi is a spicy Korean fermented vegetable pickle, and takes many different forms. Most commonly it will include Chinese cabbage, radish and onions, together with lavish amounts of garlic, ginger and chilli. I’m rather fond of spicy food, so this was a natural thing for me to try to make. I’ve done a couple of batches now, and the end results have been absolutely delicious – I can see that kimchi is going to become a regular staple in my diet.

Kimchi is astonishingly easy to make, and you can vary the ingredients to suit both your own personal tastes and the vegetables that happen to be in season or available at the time. Traditionally, many kimchi’s use chinese or napa cabbage as the main ingredient. I’ve also used pak choi in its place quite successfully, and I’m sure you could use pretty much any kind of cabbage-like vegetable.
Here’s a typical recipe (all quantities are very approximate, vary them however you fancy):
- 500g Chinese cabbage
- 1 daikon radish (also known as mooli)
- 1 red pepper
- 2 or 3 carrots
- 250g sugar snap peas
- 2 or 3 onions
- a bunch of spring onions (scallions)
- 8 large cloves garlic
- 6 hot red chillies
- 3 inch piece of ginger, roughly chopped
- sea salt
Coarsely chop the cabbage, and cut the radish, pepper and carrots into thin strips. Place in a large bowl. Mix up some brine – about 4 tablespoons of sea salt to each litre of water and add enough brine to the bowl to just cover the vegetables. Place a plate on top of the vegetables to keep them below the surface and leave overnight.
Next day, drain the vegetables (reserving some of the brine). Cut the onions into thin strips and add to the mix.
Put the garlic, chillies and ginger into a blender, with a little water and blend until smooth. Don’t skimp on the spices here – kimchi can absorb vast quantities of this stuff – you can add even more if you like. Add the spice mix into the vegetables and mix thoroughly so it’s distributed evenly throughout. If you like you can add some fish sauce into the mix at this point, perhaps ½ cup or more, as you prefer. Do check the label on the fish sauce though, to ensure it’s free of preservatives – they would interfere with the fermentation process.
Place the kimchi in a crockpot, jar or other suitable container – preferably glass or ceramic. Press the kimchi down with a plate, weighting it if necessary, and you’ll see more brine appear. If the brine doesn’t cover the vegetables, top up a little with your reserved brine. Cover the pot with a lid or cloth to stop things falling in and place in an out-of the way spot in the corner of kitchen. Now for the hard bit: wait.
It will take at least a week before the kimchi is ready, and quite possibly longer – we’re in the middle of winter here right now, and the last batch I made was ready for eating after about two weeks. If the weather’s cool, it will take rather longer than if it’s warm. Check the kimchi each day, topping up with a little brine if the liquid level has fallen. Taste it every now and then, and after a while you’ll find it’s developed a distinctively sour note. The longer you leave it, the more pronounced the sourness will be – how far you go is really a matter of personal preference, don’t be afraid to experiment. Once your kimchi is ready, store it in a cool place, to help slow down further fermentation.
Kimchi is very versatile and goes with all sorts of things. We’ve found that we eat it as an accompaniment to all sort of meals – everything from a sausage snack for lunch to a full blown roast dinner. Try it – it’s rather addictive once you start.


