First, let’s clear up the inevitable confusion over terminology. I’m British. ‘Chips’ are pieces of potato, cut into chunky fingers (more than 1cm wide) and then deep-fried. ‘Fries’ are pieces of potato, cut into slender fingers (less than 1cm wide) and then deep-fried. Those snacks made of thin slices of fried potato are ‘crisps’. Right, now we’ve established that, we can press on.
I’ve tried many different ways of making chips over the years – various combinations of parboiling, frying and baking – and have had some pretty decent results. Then, quite some time ago now, I stumbled across a post on the Serious Eats blog: Perfect Thin and Crispy French Fries. It sounded intriguing, cooking the fries three times. It also sounded like a lot of faffle. I bookmarked it and thought I might try it someday when I had a bit more time. I then forgot all about it and carried on doing things my own way.
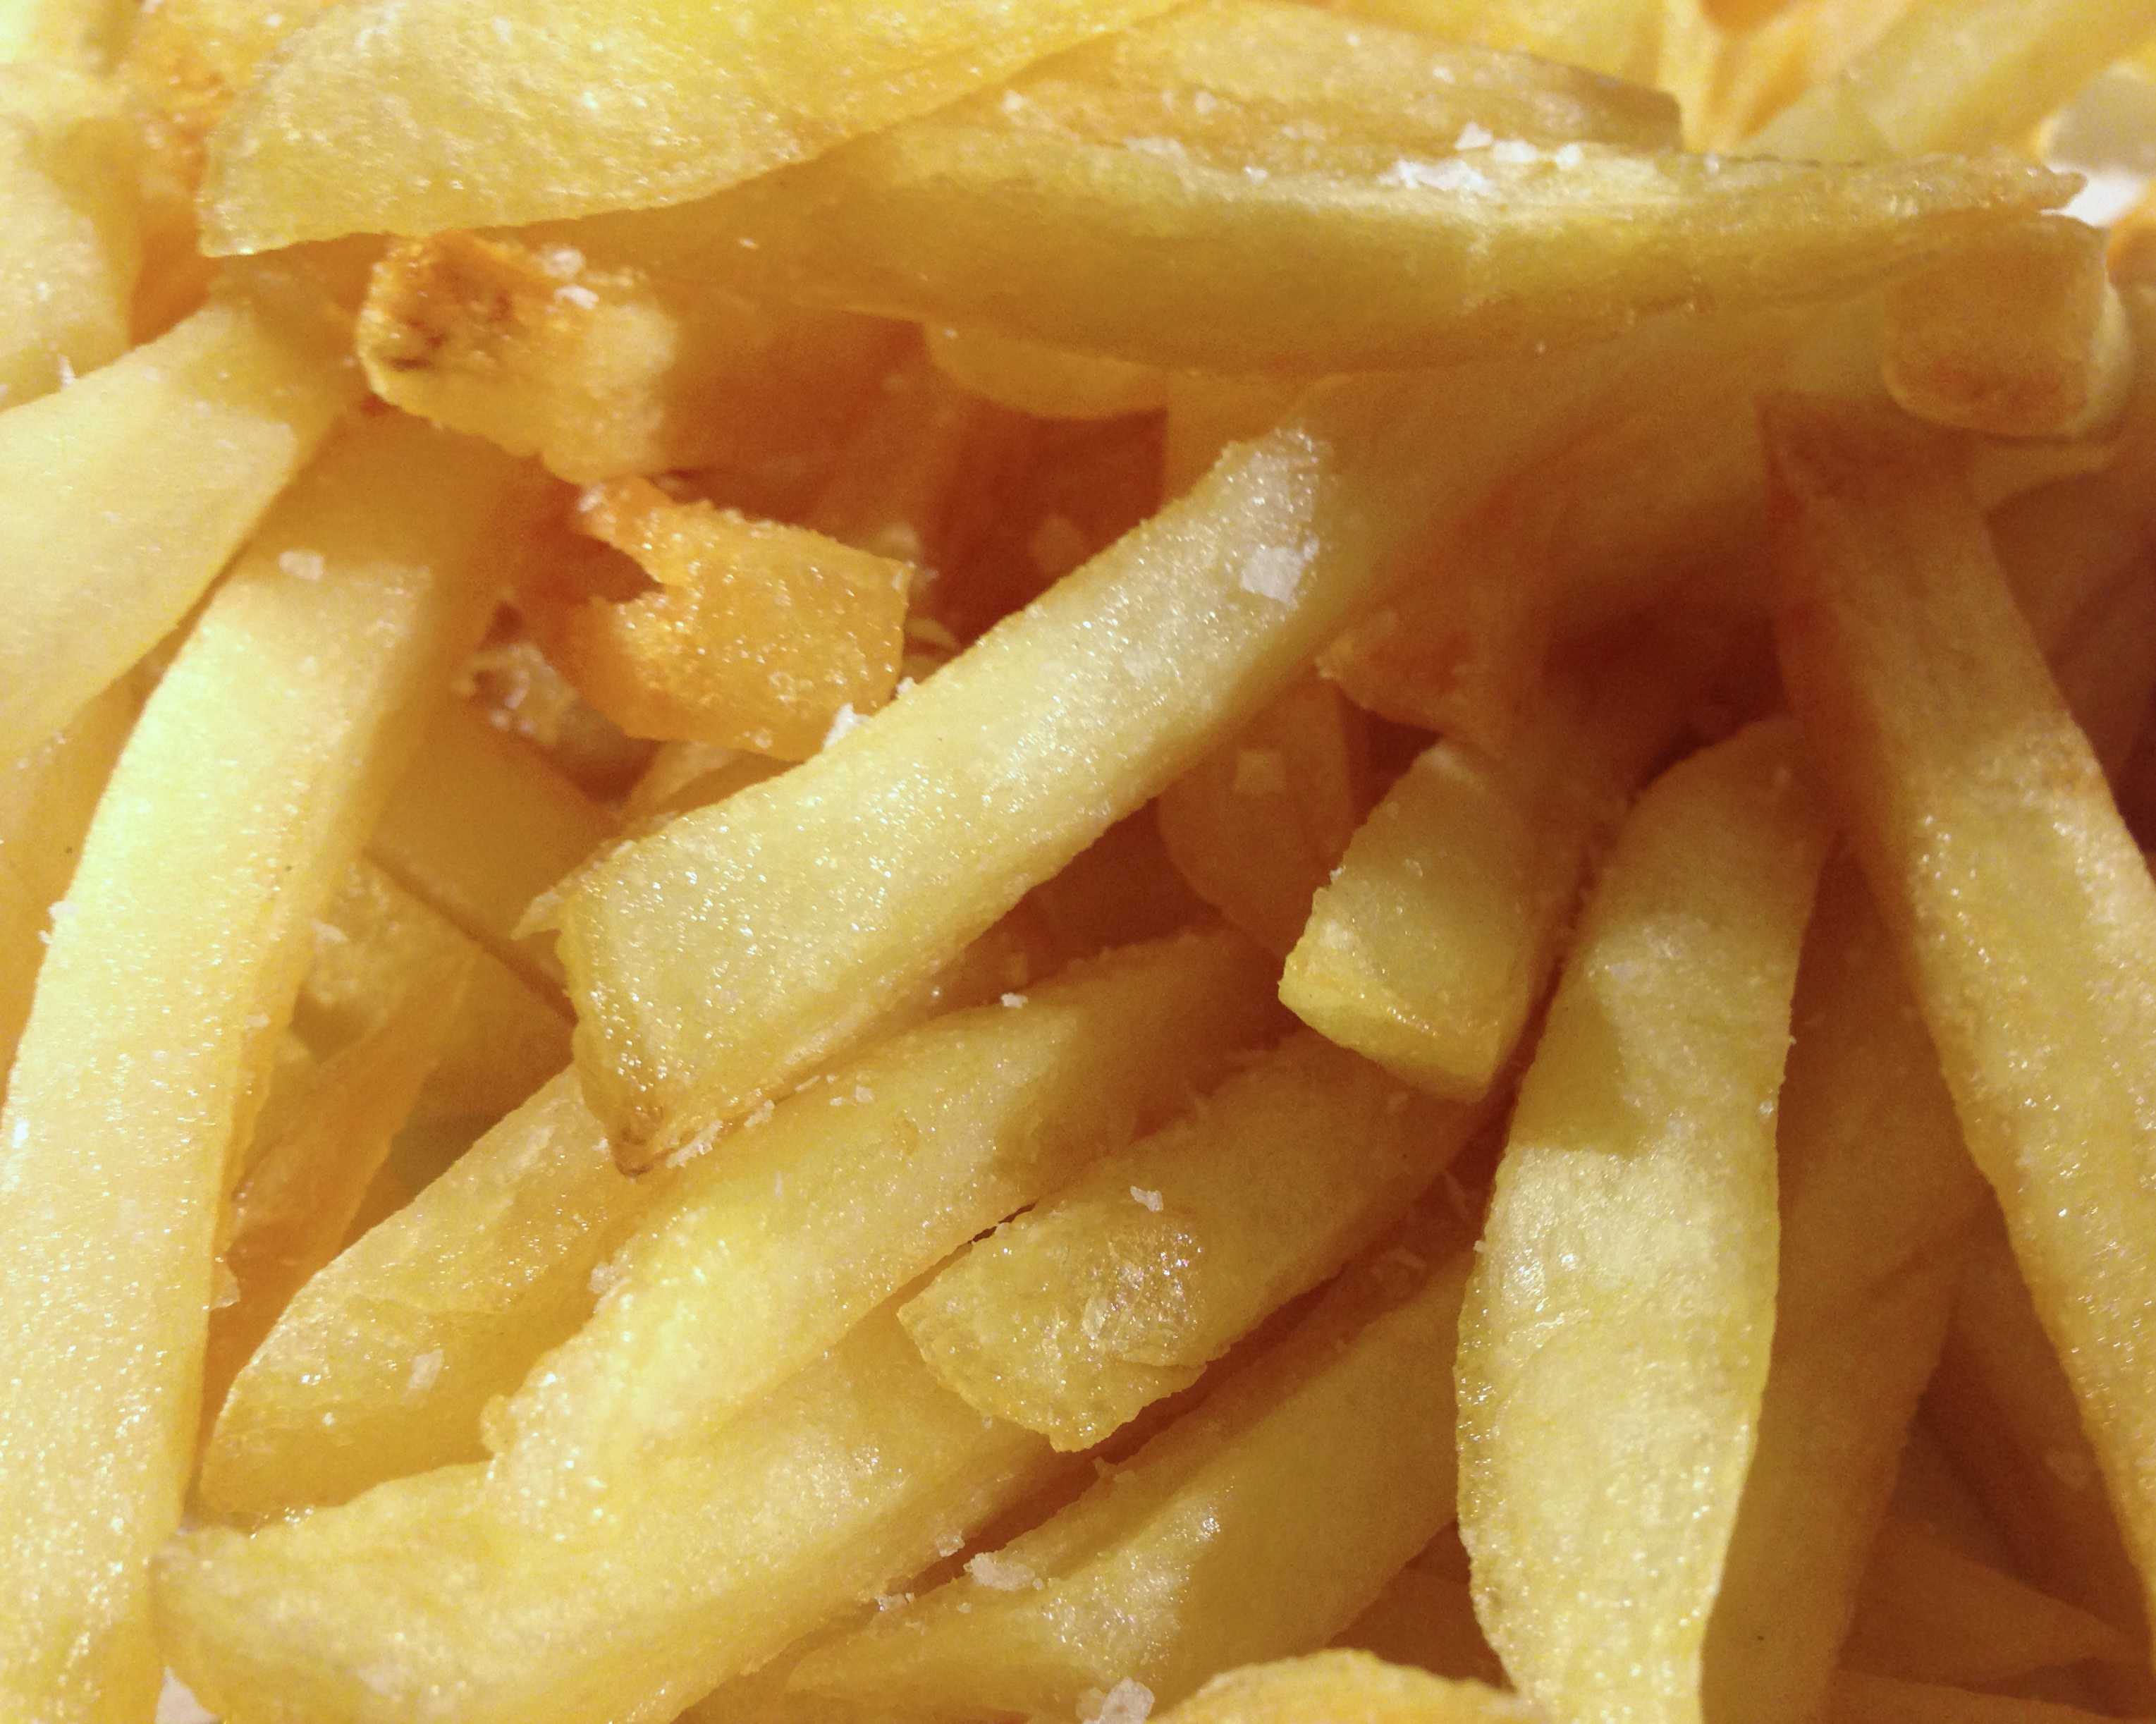
Well, I finally got around to trying it out. It does all sound rather involved, but the steps are pretty straightforward. And the results? Well, I can honestly say that these were some of the best fries I’ve ever eaten. I wish I’d tried this out years ago, the results are fabulous. Perfect fries indeed. Crispy on the outside, light and fluffy on the inside. And they stayed crispy too, right to the last fry. I’m not sure I could ever go back to my old ways. This one is the recipe for me from now on.
Preparation
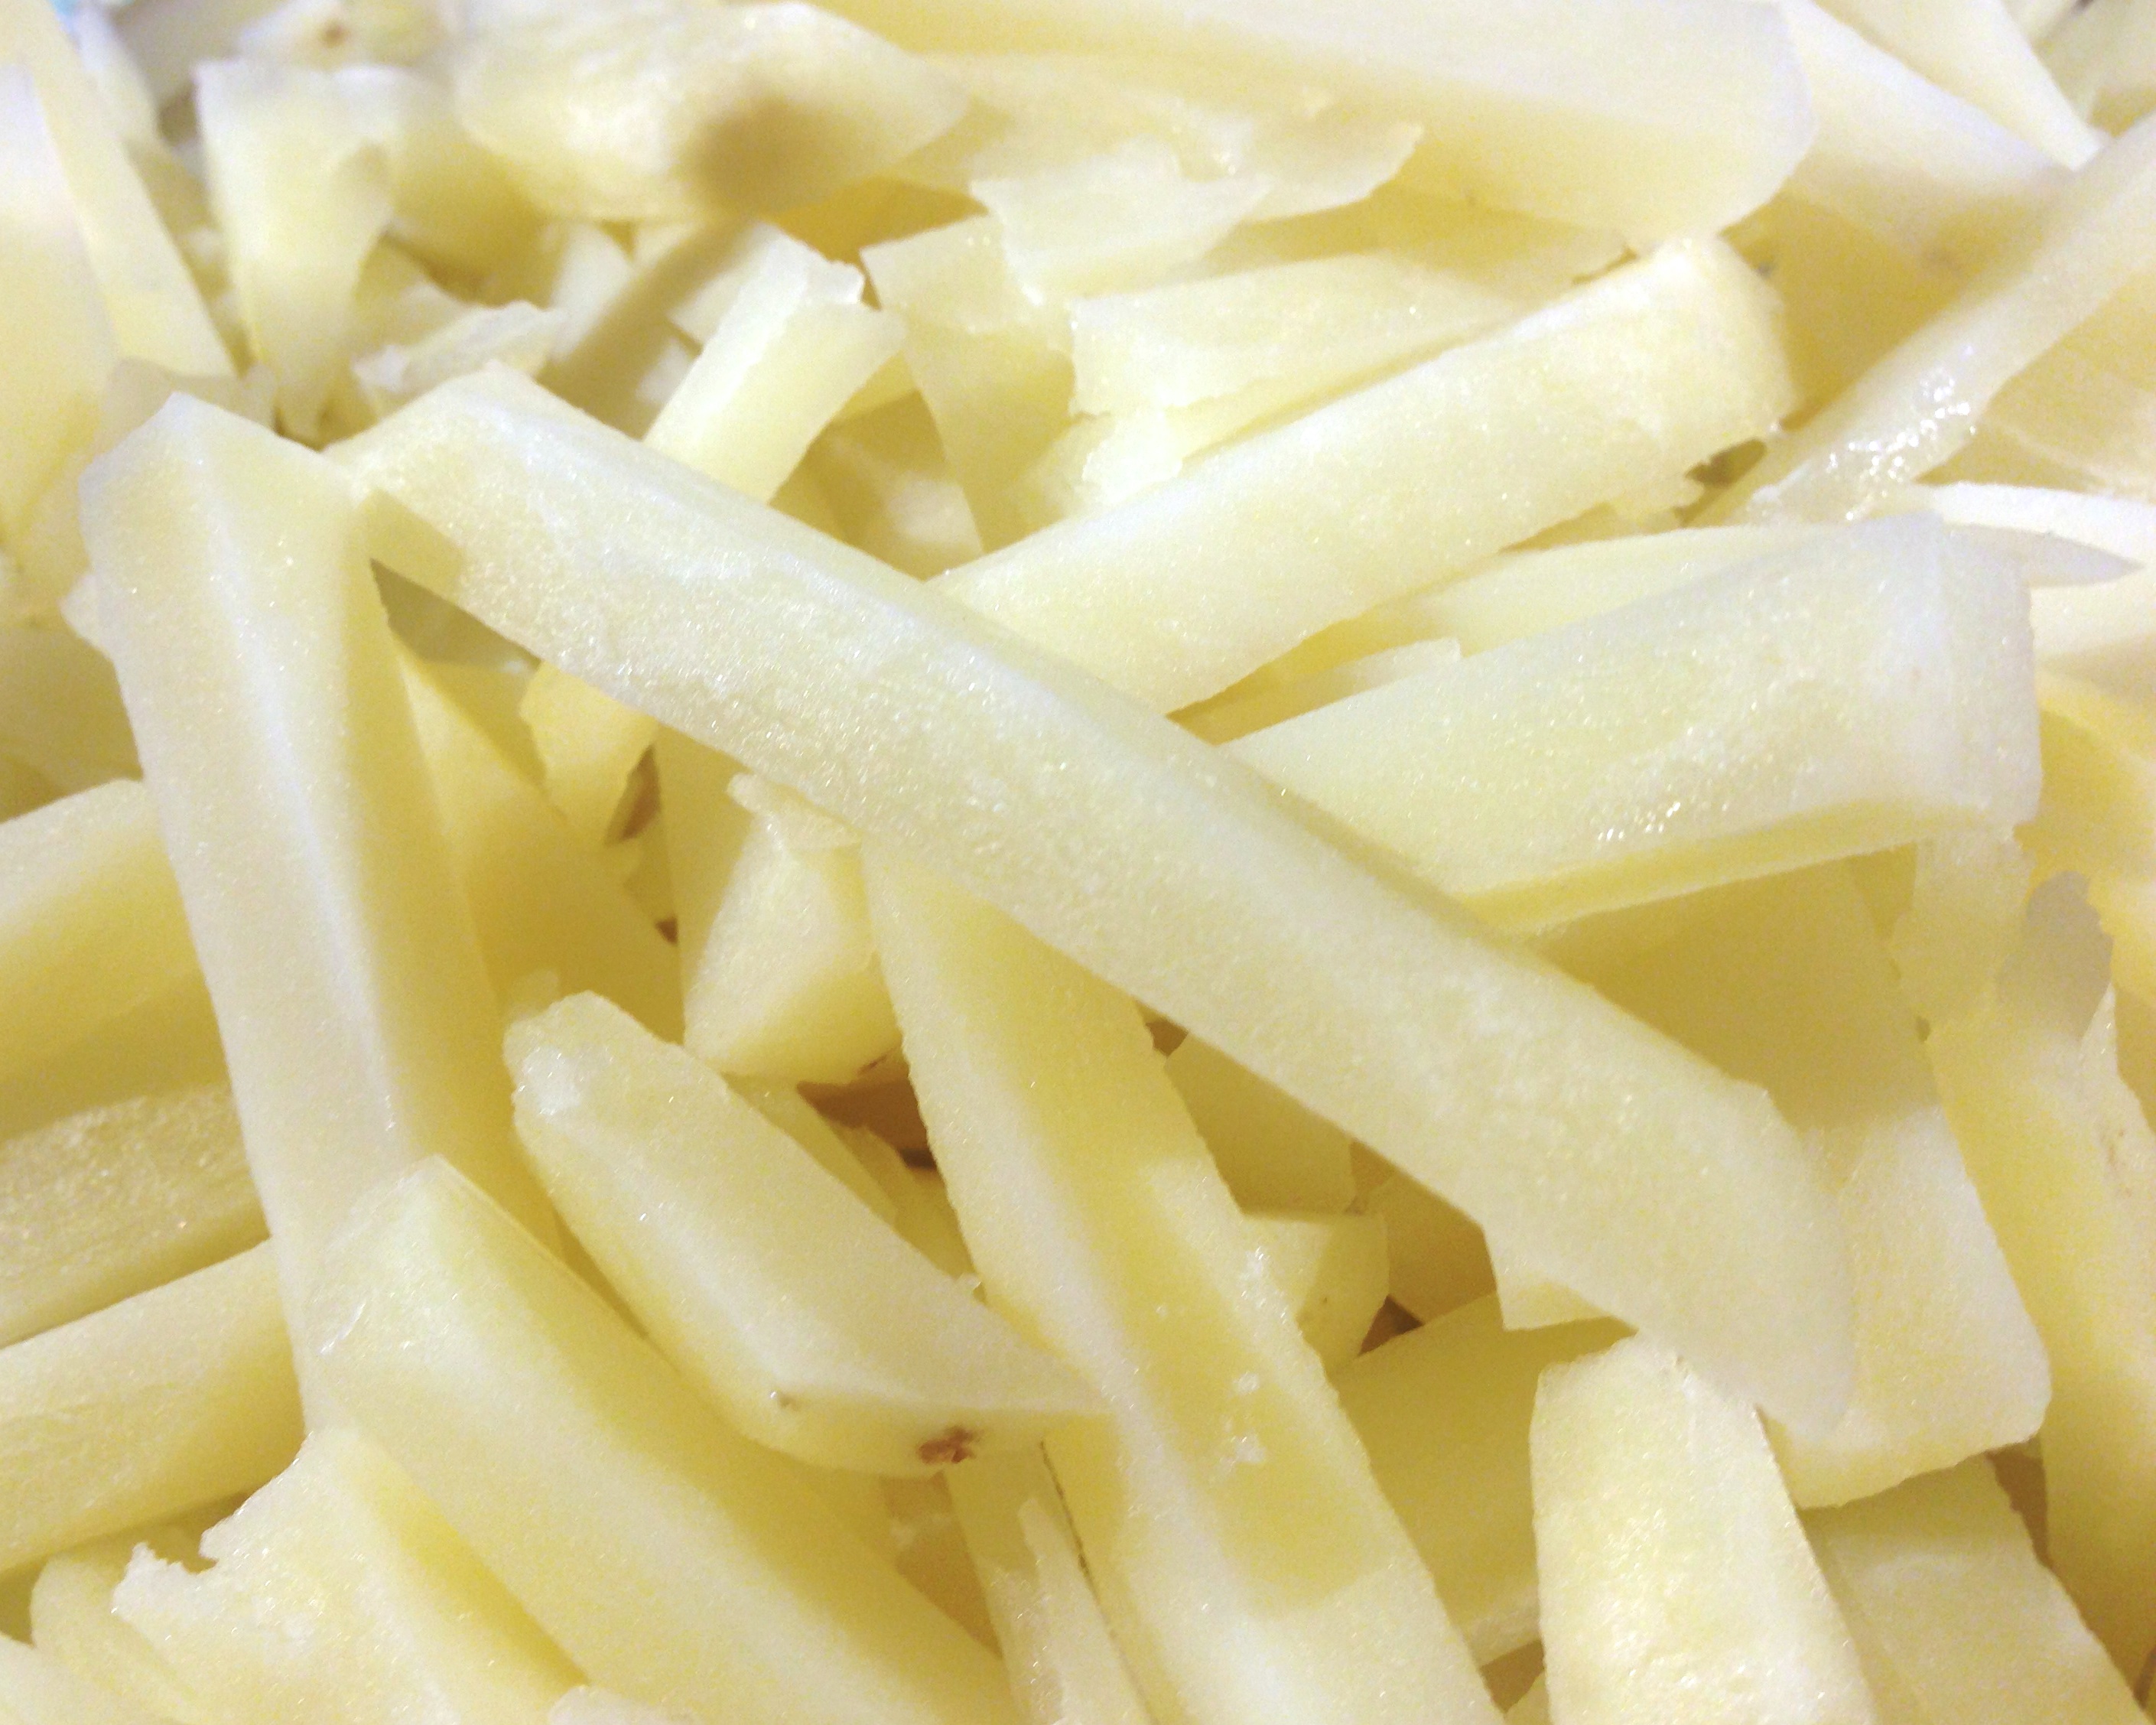
First, take your potatoes (I used Maris Piper) – about 1kg (2lb). Peel them and cut them into fingers, about ½ to 1 cm width. If you have a mandoline, then use that to cut them – you’ll whistle through them in seconds. If you don’t have a mandoline, just use a sharp knife. (You’ll probably then decide that that took way too long and head out and buy yourself a mandoline. Be sure to buy a mandoline not a mandolin, Mandolins are fun too, but they don’t make such good chips.)
Put your cut potatoes in some water to stop them browning before you’re ready to start.

Cooking: Part 1
Now, this is the really important part. Read this carefully and do exactly what it says. Place the cut potatoes into a large pan and cover generously with cold water. For each pint of water, add ½ tablespoon of malt vinegar and ½ tablespoon of salt. Give a gentle stir to distribute the vinegar and salt evenly. Heat the pan until the water boils, then turn the heat down and leave to simmer for ten minutes. Remove from the heat, drain, and spread the fries onto a plate or baking tray to cool. Make sure you spread them out so that they cool, otherwise the centre of the pile will remain hot and continue to cook. The fries should be just about cooked through but still firm and holding their shape.
So, why is this so important? Well, it’s complicated, but in short, it reduces the sugars in the walls of the fry and stops it browning too much later, whilst also strengthening the outer skin to ensure crispness. The folks over at Serious Eats did a brilliant job in figuring all this out, and if you want to learn more about the whole process, including the science involved, the write-up of their research is well worth reading.
Cooking: Part 2
Now for the frying. Take a deep pan and put in the cooking fat or oil of your choice. I use beef dripping because I think it makes the very best chips. You could use a vegetable oil if you prefer, but be aware that many of these degrade quickly when heated to high temperatures. Choose one with a high smoke point.
Fill the pan to no more than a third of its depth. Do not overfill the pan – when you add the potatoes, it will bubble furiously and may overflow if you use too much oil.
Heat the fat to 200˚C (390˚F). Use a thermometer for this. It’s too hard to guess, and if you start with oil that is too cool, the potatoes will absorb more of it and you will end up with greasy fries. Once up to temperature, add some of the fries. Don’t add too many – they’ll bubble vigorously and overflow if you do that. Depending on the size of your pan, you’ll probably need to do this part in three or four batches. Cook the fries for 50 – 60 seconds and then remove them to a baking tray lined with kitchen paper to drain. Bring the fat back up to temperature and repeat for the next batch. Keep going until all the fries are cooked. Leave the fries to one side to cool.
At this point, you should freeze the fries, overnight at least. It’s also a good idea to cook up a whole batch of fries to this point and then freeze them so you can just fish out a portion from the freezer whenever you fancy a quick and tasty snack. (OK, you’ve got this far, you’re hungry and you just want to eat fries right now. You can skip the freezing bit and carry straight on, but next time, plan ahead: start a day earlier and freeze them overnight. The results will be better. Honest.)
Cooking: Part 3
When you’re ready to eat the fries, take them from the freezer and heat the fat to 200˚C (390˚F) again. When hot, add the fries to the pan – you will need to do this in batches again, but they won’t foam up so much this time. Cook each batch for four minutes. As each batch is cooked, drain and remove to a baking tray lined with kitchen paper and place in a hot (180˚C/350˚F) oven to keep warm whilst you cook the others.
Serve immediately.