A few weeks ago, I posted my recipe for marshmallows. It proved to be quite a popular post, and a good few people have sent me messages about it. Recently, Lauren from CoffeeMuffins commented on the post, and mentioned her previous not-very-successful experience of making marshmallow. She had been trying to cover a biscuit base with them, and then coat the whole thing with chocolate. Well, that sounds rather like a Tunnock’s Teacake to me. I’ve always had a soft spot for Tunnock’s Teacakes, and had occasionally wondered if it was possible to make them at home. Inspired by Lauren’s comment, I decided to see if I could actually make some.
So, with a little help from Google, I quickly found a recipe from Paul Hollywood. Hmm, it did all sound a bit fiddly though. Now, I’ll come clean here: I’m really more of a savoury cook. I don’t make many sweet things, and the idea of using moulds and melted chocolate was a little daunting. But, I was determined to give it a whirl.
First problem: I needed a silicone half-sphere mould. I found one of those over at Sous Chef, and so I ordered one. I ordered a bunch of disposable piping bags too.
Reading through the recipe, there were a couple things I wasn’t too keen on. For a start, he uses Bournville chocolate. That’s not exactly the greatest chocolate in the world. I decided to use Green & Blacks cooking chocolate. He did warn not to use one with high cocoa solids though, so I figured I’d use a mix of the dark and the milk. The other change I made was to the marshmallow. I’ve been very pleased with my own marshmallows of late, so I decided to use my marshmallow recipe instead of his.
So, first, the biscuit base. My mould had eight half-spheres rather than the six in his recipe, so I decided to double the quantity of biscuit, just to be sure that I had enough. That should also give me some spares in case anything went wrong. The biscuits are very straightforward:
- 100g/2½oz wholemeal flour
- 100g/2½oz plain flour
- pinch of salt
- 1 tsp baking powder
- 50g/2oz caster sugar
- 50g/2oz butter
- 4 tbsp milk
Preheat the oven to 170˚C/325˚F.
Place the dry ingredients into a bowl, and rub in the butter with your fingers until the mixture resembles breadcrumbs. Now add the milk. I found that I needed about twice as much milk as the original recipe claimed, so I recommend you add the milk a tablespoon at a time, mixing well after each addition, until the dough holds together in a smooth ball.
Now roll the dough out on a lightly floured surface until it’s about 5mm/¼ inch thick. Using a round cutter the same size as your silicone moulds (mine were 6cm diameter), cut out discs for the biscuit. Place these on a baking try lined with baking parchment, and place in the fridge for about ten minutes or so. The recipe claimed that this would stop them spreading out too much as they cooked.
Bake the chilled biscuits for 10 – 12 minutes. I actually left mine in for about 15 minutes in the end (the biscuits need to be firm, and I suspect I’d made mine a little thicker than recommended). Be sure to take them out before they brown too much though. These were just about right in the end – once cooled they were nice and crisp, but not too hard – and they didn’t spread!
Once out of the oven, place the biscuits on a rack to cool.
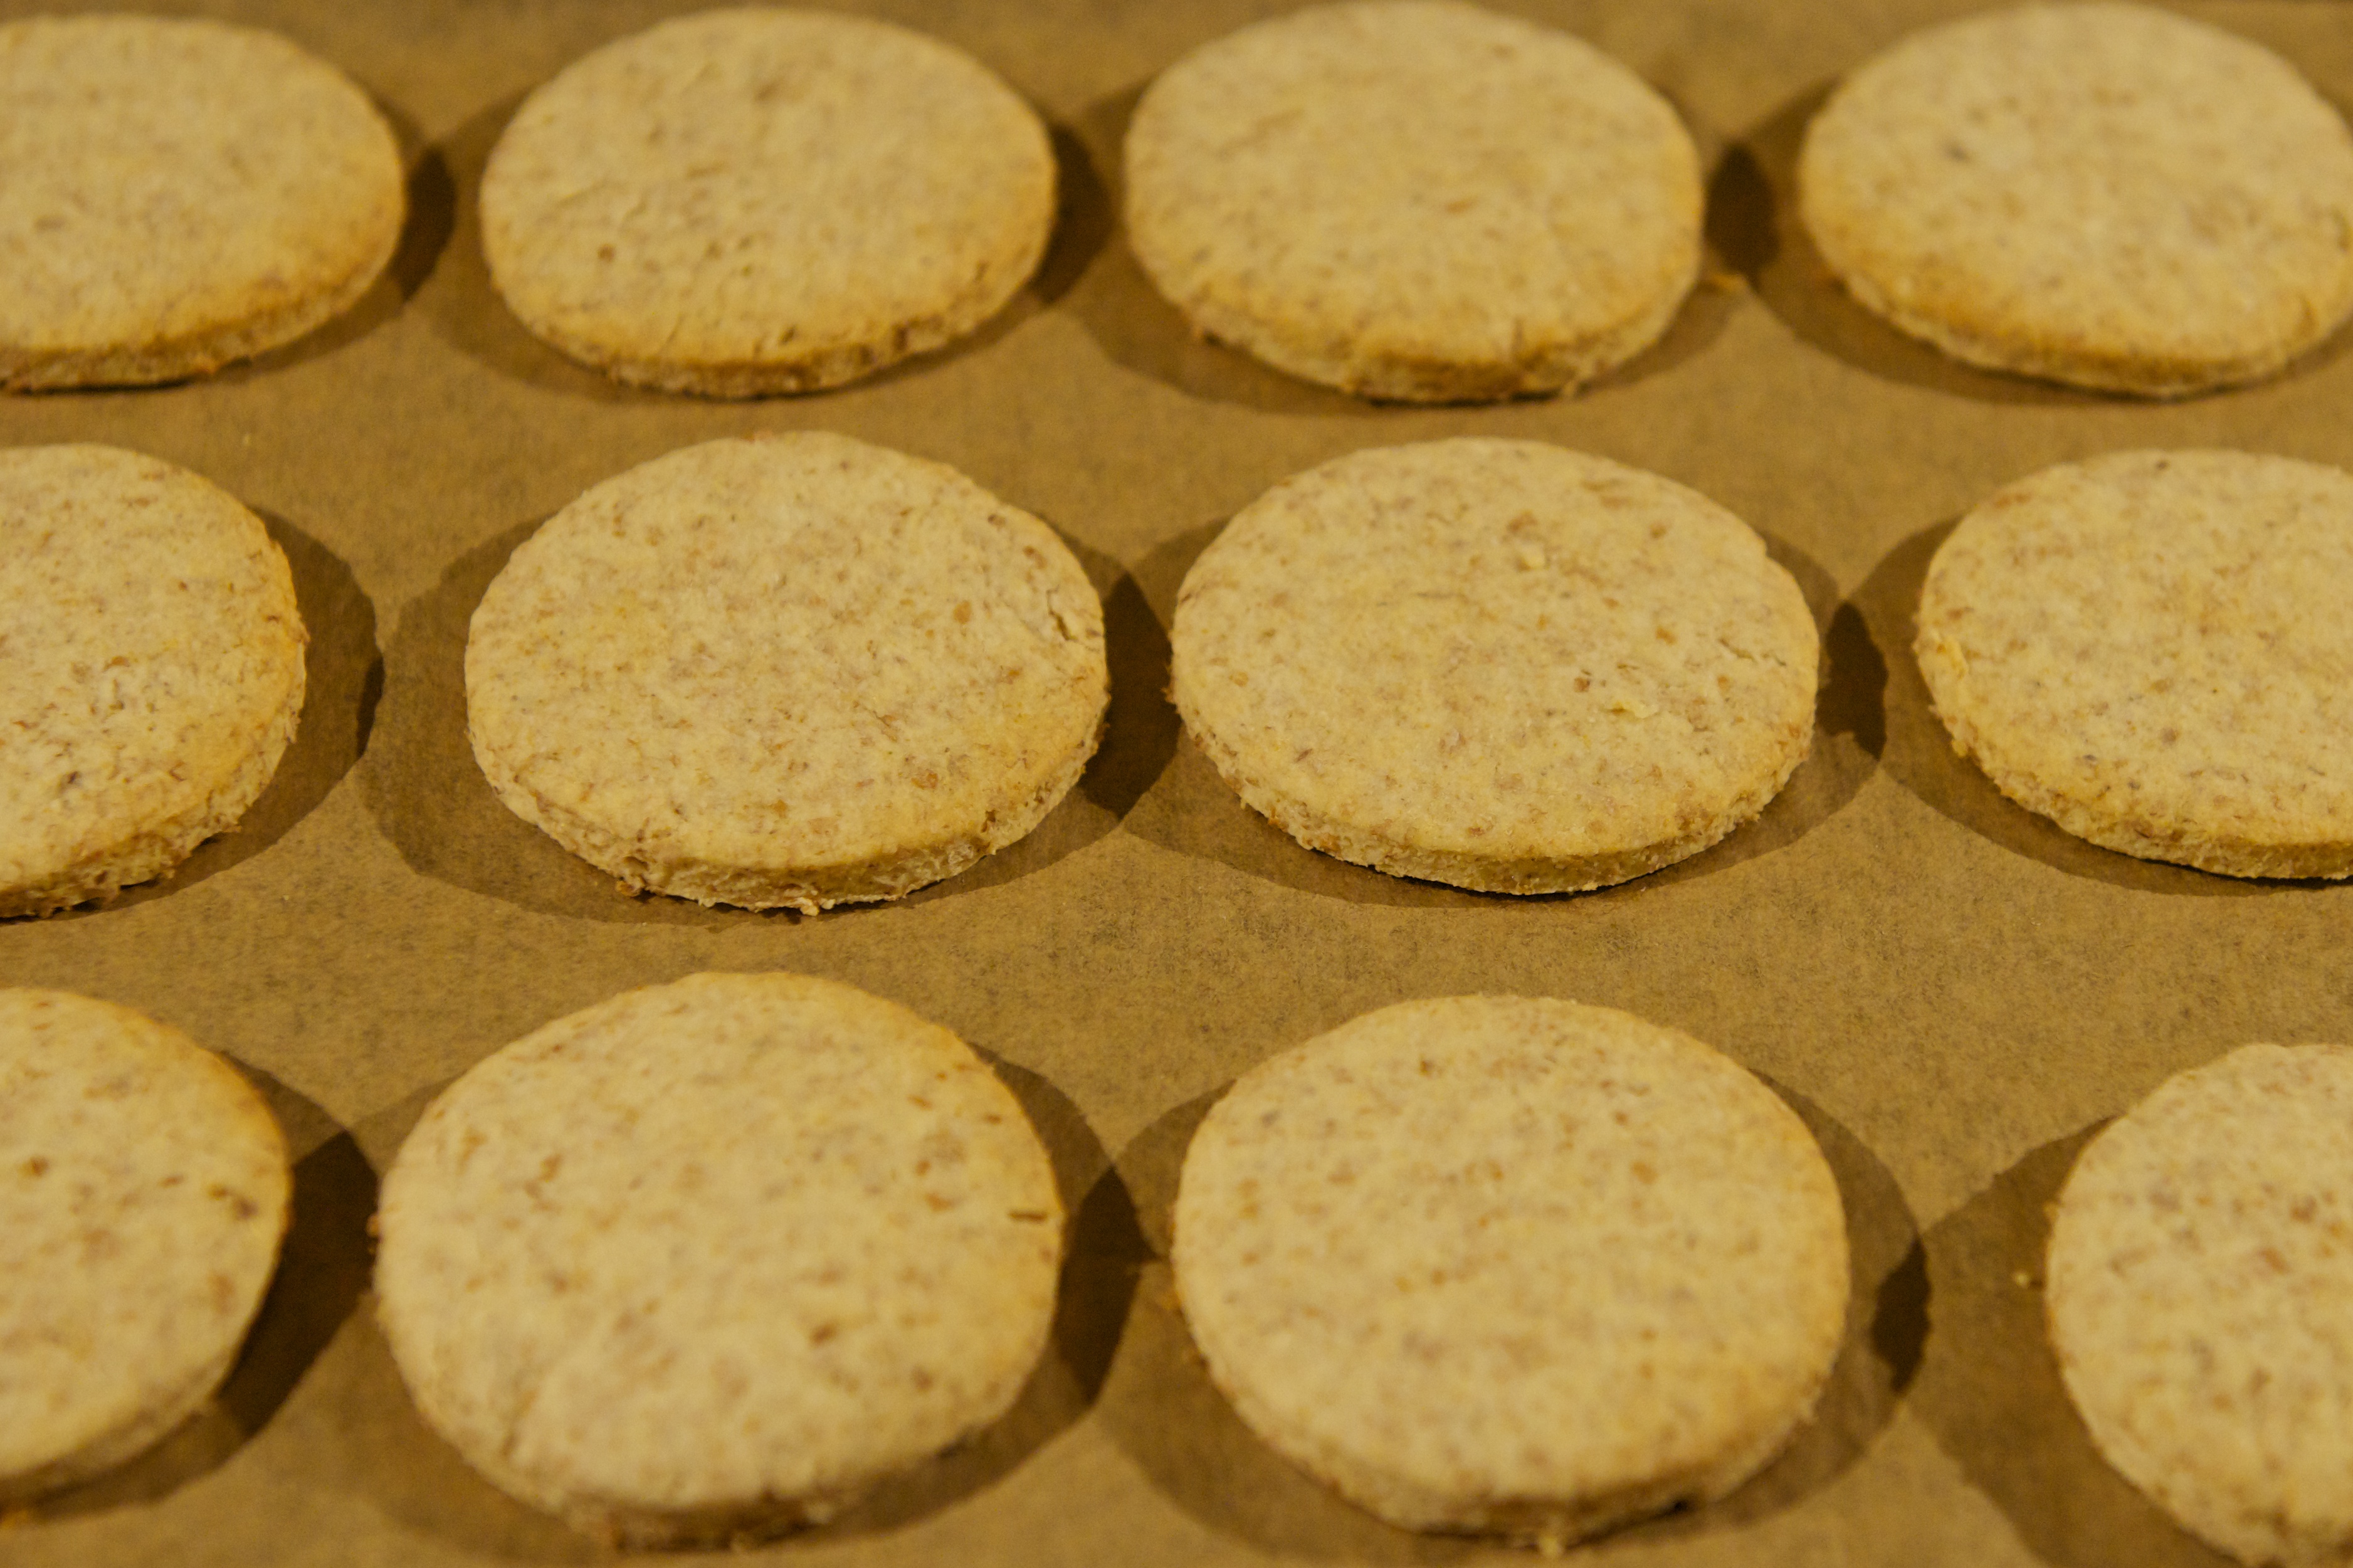
The ingredients above made far more biscuits than I needed, but that was fine – it meant I had enough spare to be able to sample the biscuits on their own. They’re really very nice – I’d make those again, just as plain biscuits.
OK, that’s the easy bit done. Now for the chocolate. I used two bars each of Green & Blacks Dark and Milk Cooking Chocolate (but see later comment on the chocolate mix) – that’s 600g of chocolate in total, and was plenty more than enough. Melt the chocolate in a bowl over a pan of gently simmering water. It’s very important that the bowl doesn’t touch the surface of the water – if that happens, the chocolate will get too hot and will develop a grainy texture. Keep stirring the chocolate until it has all melted. As soon as that’s done, remove from the pan of water and set to one side.
Now you should leave the chocolate until it cools a little. When first melted, it’s very runny and won’t stick to the moulds very well. As it cools, it will thicken up a little and will cover the surface of the mould much more easily. Using the back of a spoon, cover the inside of each of the moulds with a layer of chocolate. Be sure to go all the way to the edges, and don’t leave any holes. Put the moulds to one side to set.

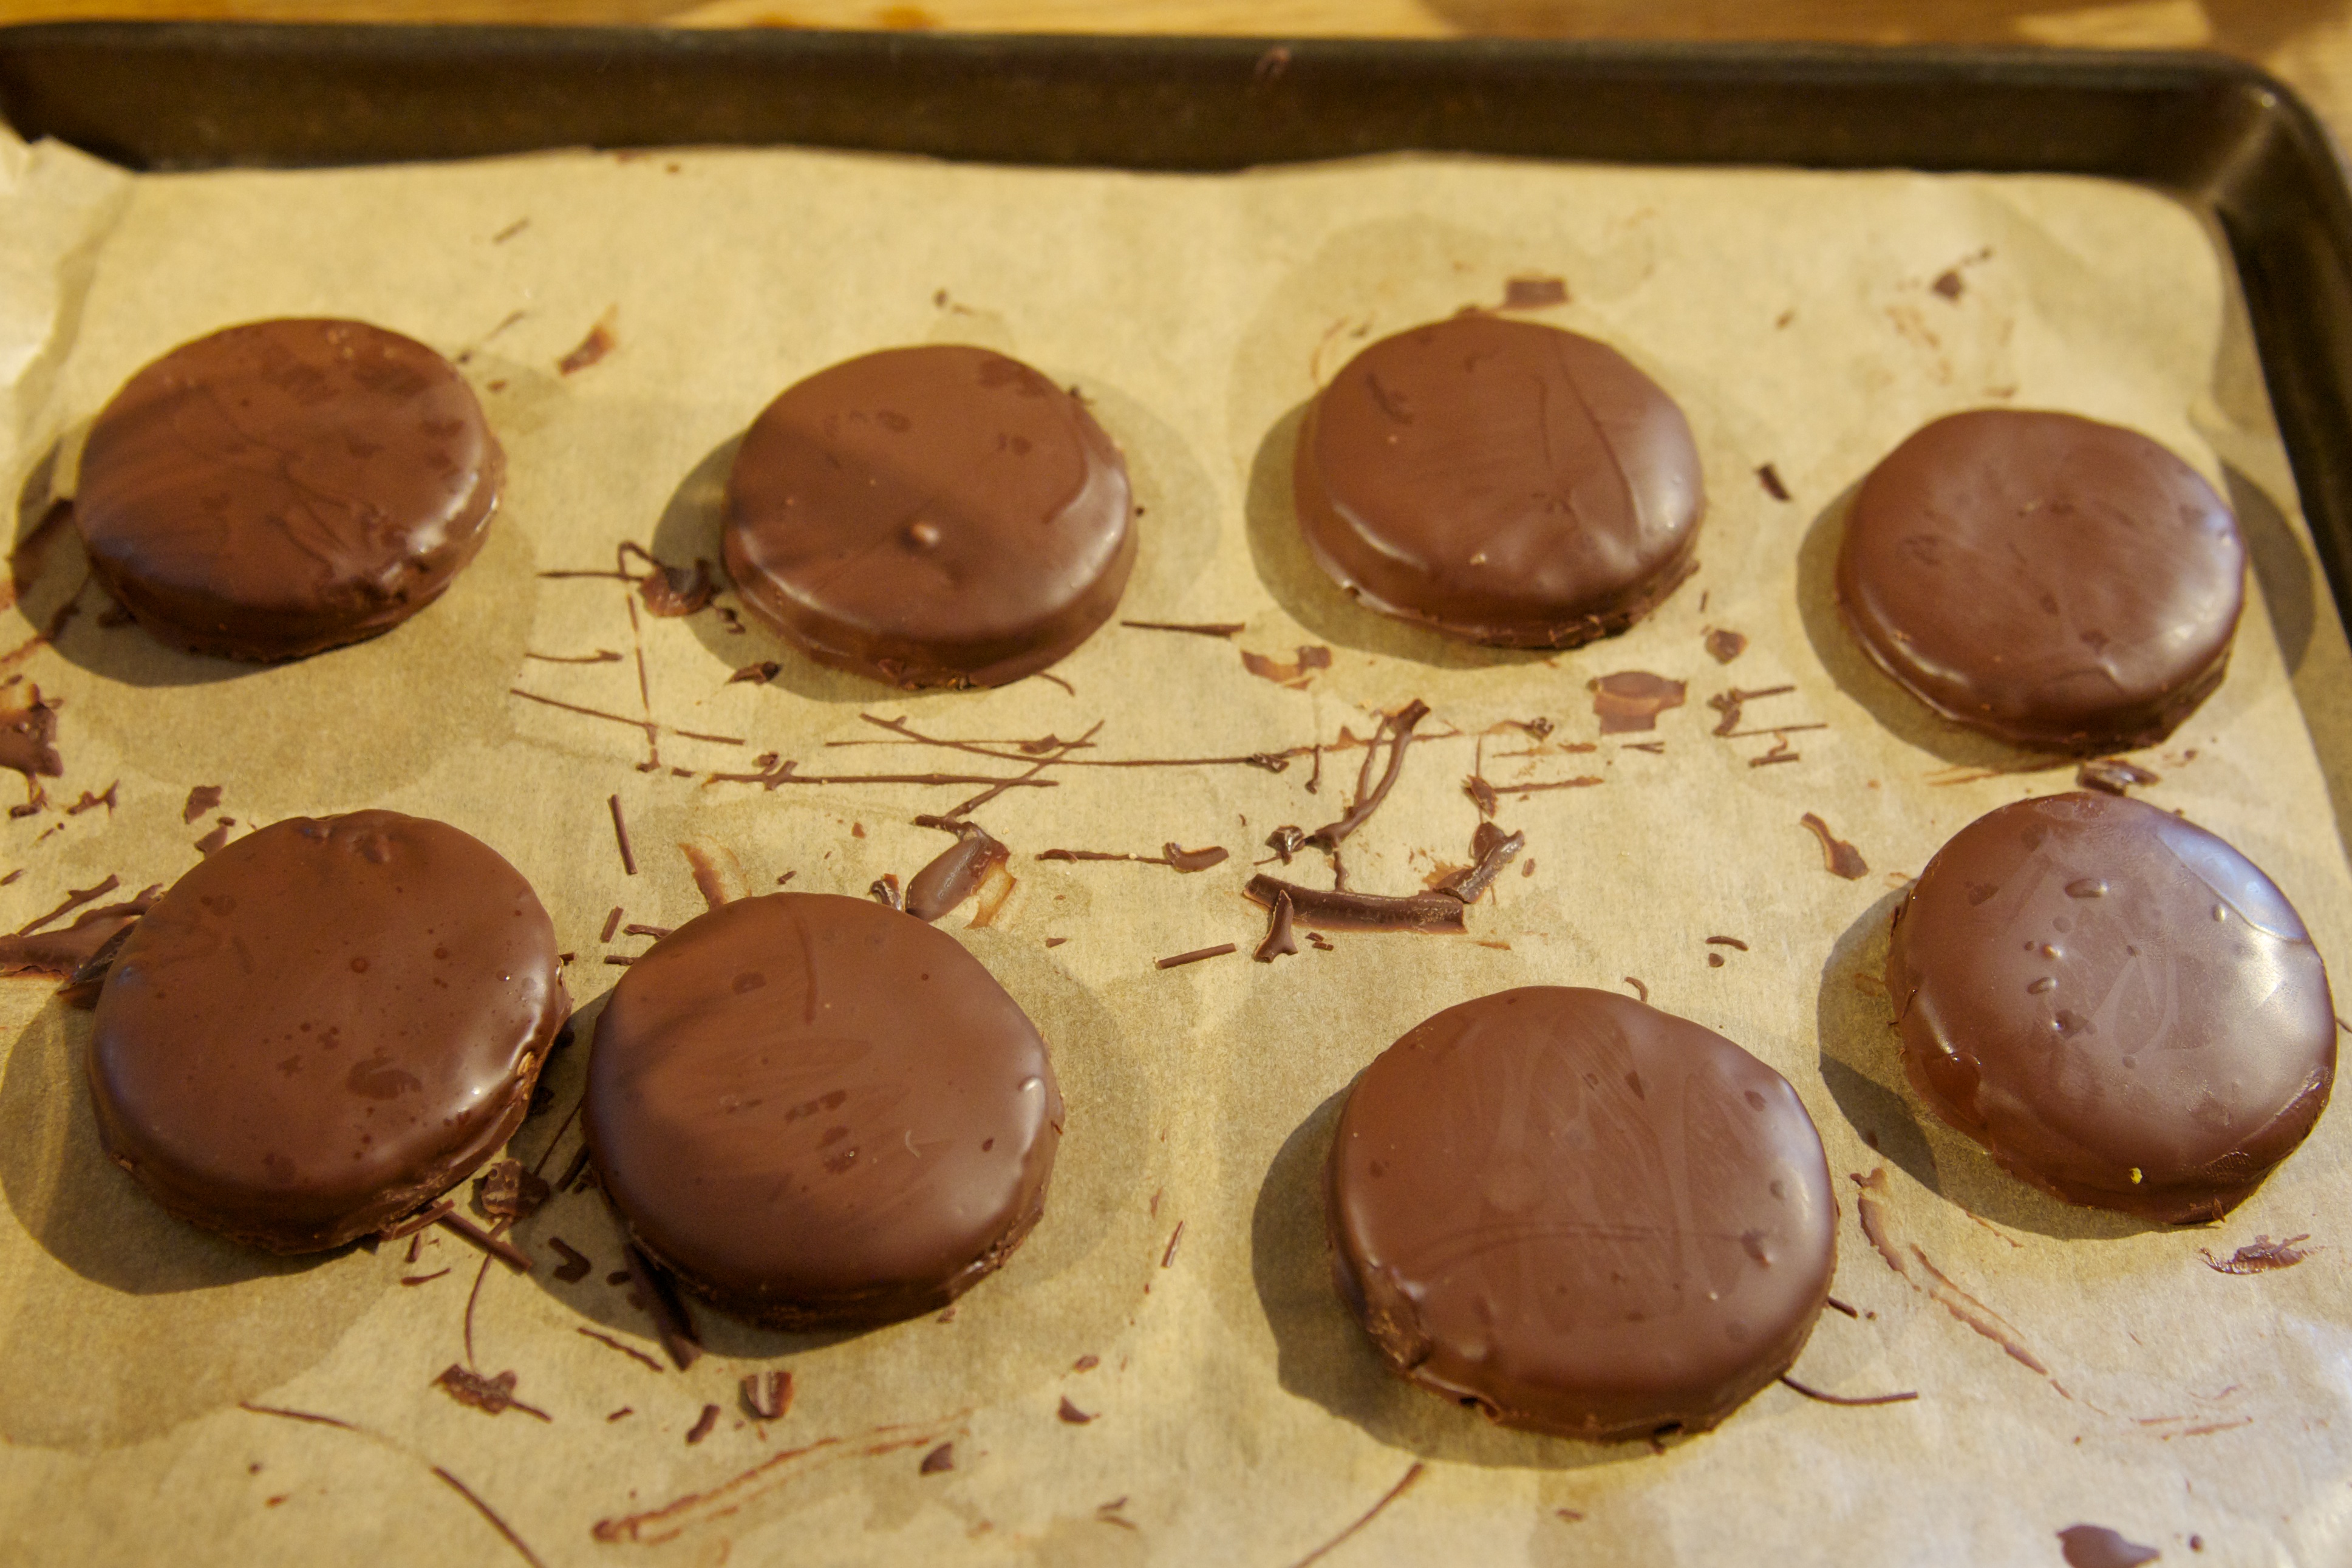
Next, take the biscuits and dip them in the chocolate so that they are completely covered. Place on some baking parchment and leave them to set. If you’re anything like me, you’ll get chocolate absolutely everywhere doing this.
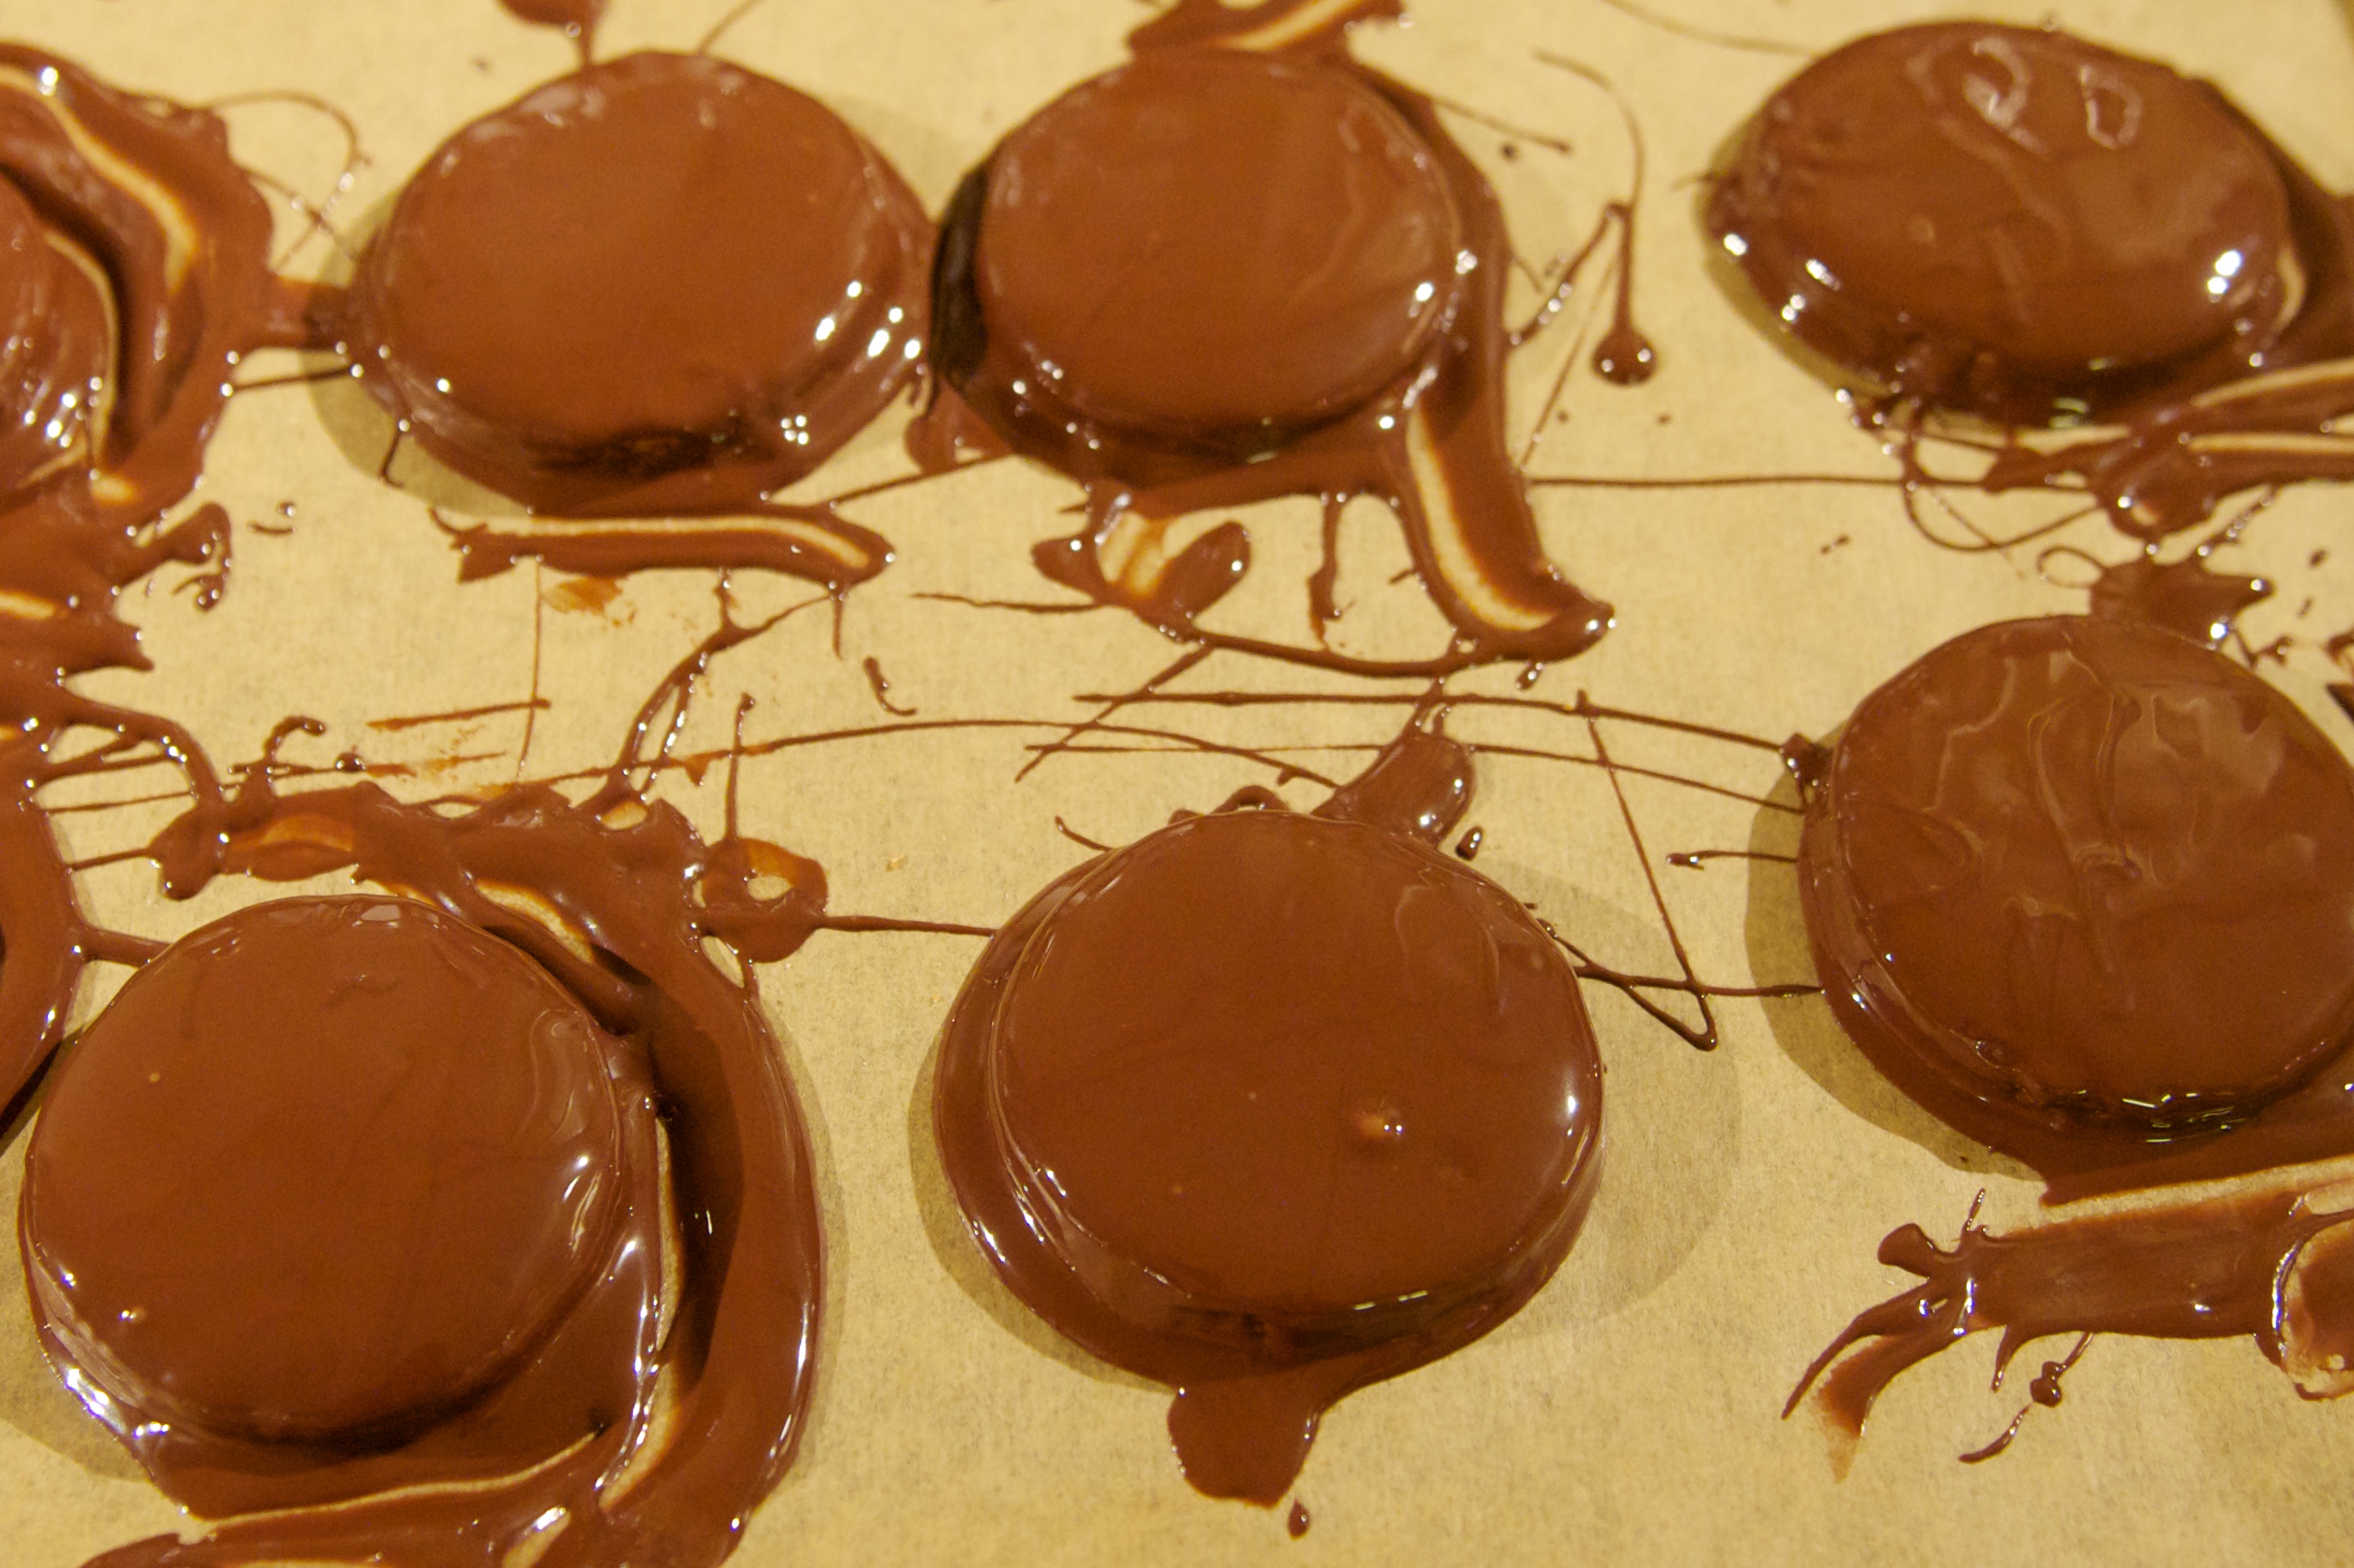
Once the chocolate biscuits have set, you can trim any ragged edges with a sharp knife to make them look better.
Now, make the marshmallow. You can find my marshmallow recipe here. I made up the full quantity, but only ended up using a little less than half of it – you could probably get away with halving the ingredients. Make the marshmallow up until the point where you finish whisking it and it’s starting to thicken. Pour it into a disposable piping bag. Pipe the marshmallow into the chocolate-lined moulds. You should take care to fill each mould, but don’t overfill them – you don’t want the marshmallow to rise above the level of the mould as that will make placing the biscuit much harder. You should ideally be able to see the edge of the chocolate all around the marshmallow. If any spills over the edge, just wipe it off. Put the marshmallow-filled moulds aside to set.

Once set, you’re ready to combine the two halves. Your chocolate in the bowl has probable set by now, so re-melt it gently over water again, as before (or melt a fresh batch). We only need a little for this final step. Pour the melted chocolate into a disposable piping bag, and put to one side to cool a little. We really want the chocolate to be cool but not yet solid. If the chocolate is too runny, it will go everywhere (I know, mine did!). Pipe a circle of chocolate around the edge of each of the moulds. Pipe a second circle of chocolate around the top of each of the biscuits. Then, carefully line up the two circles and sandwich a biscuit on top of each marshmallow. Press down lightly on it so the biscuit sticks properly to the marshmallow below. Put to one side to set.
Once completely set, very carefully remove the teacakes from the moulds.
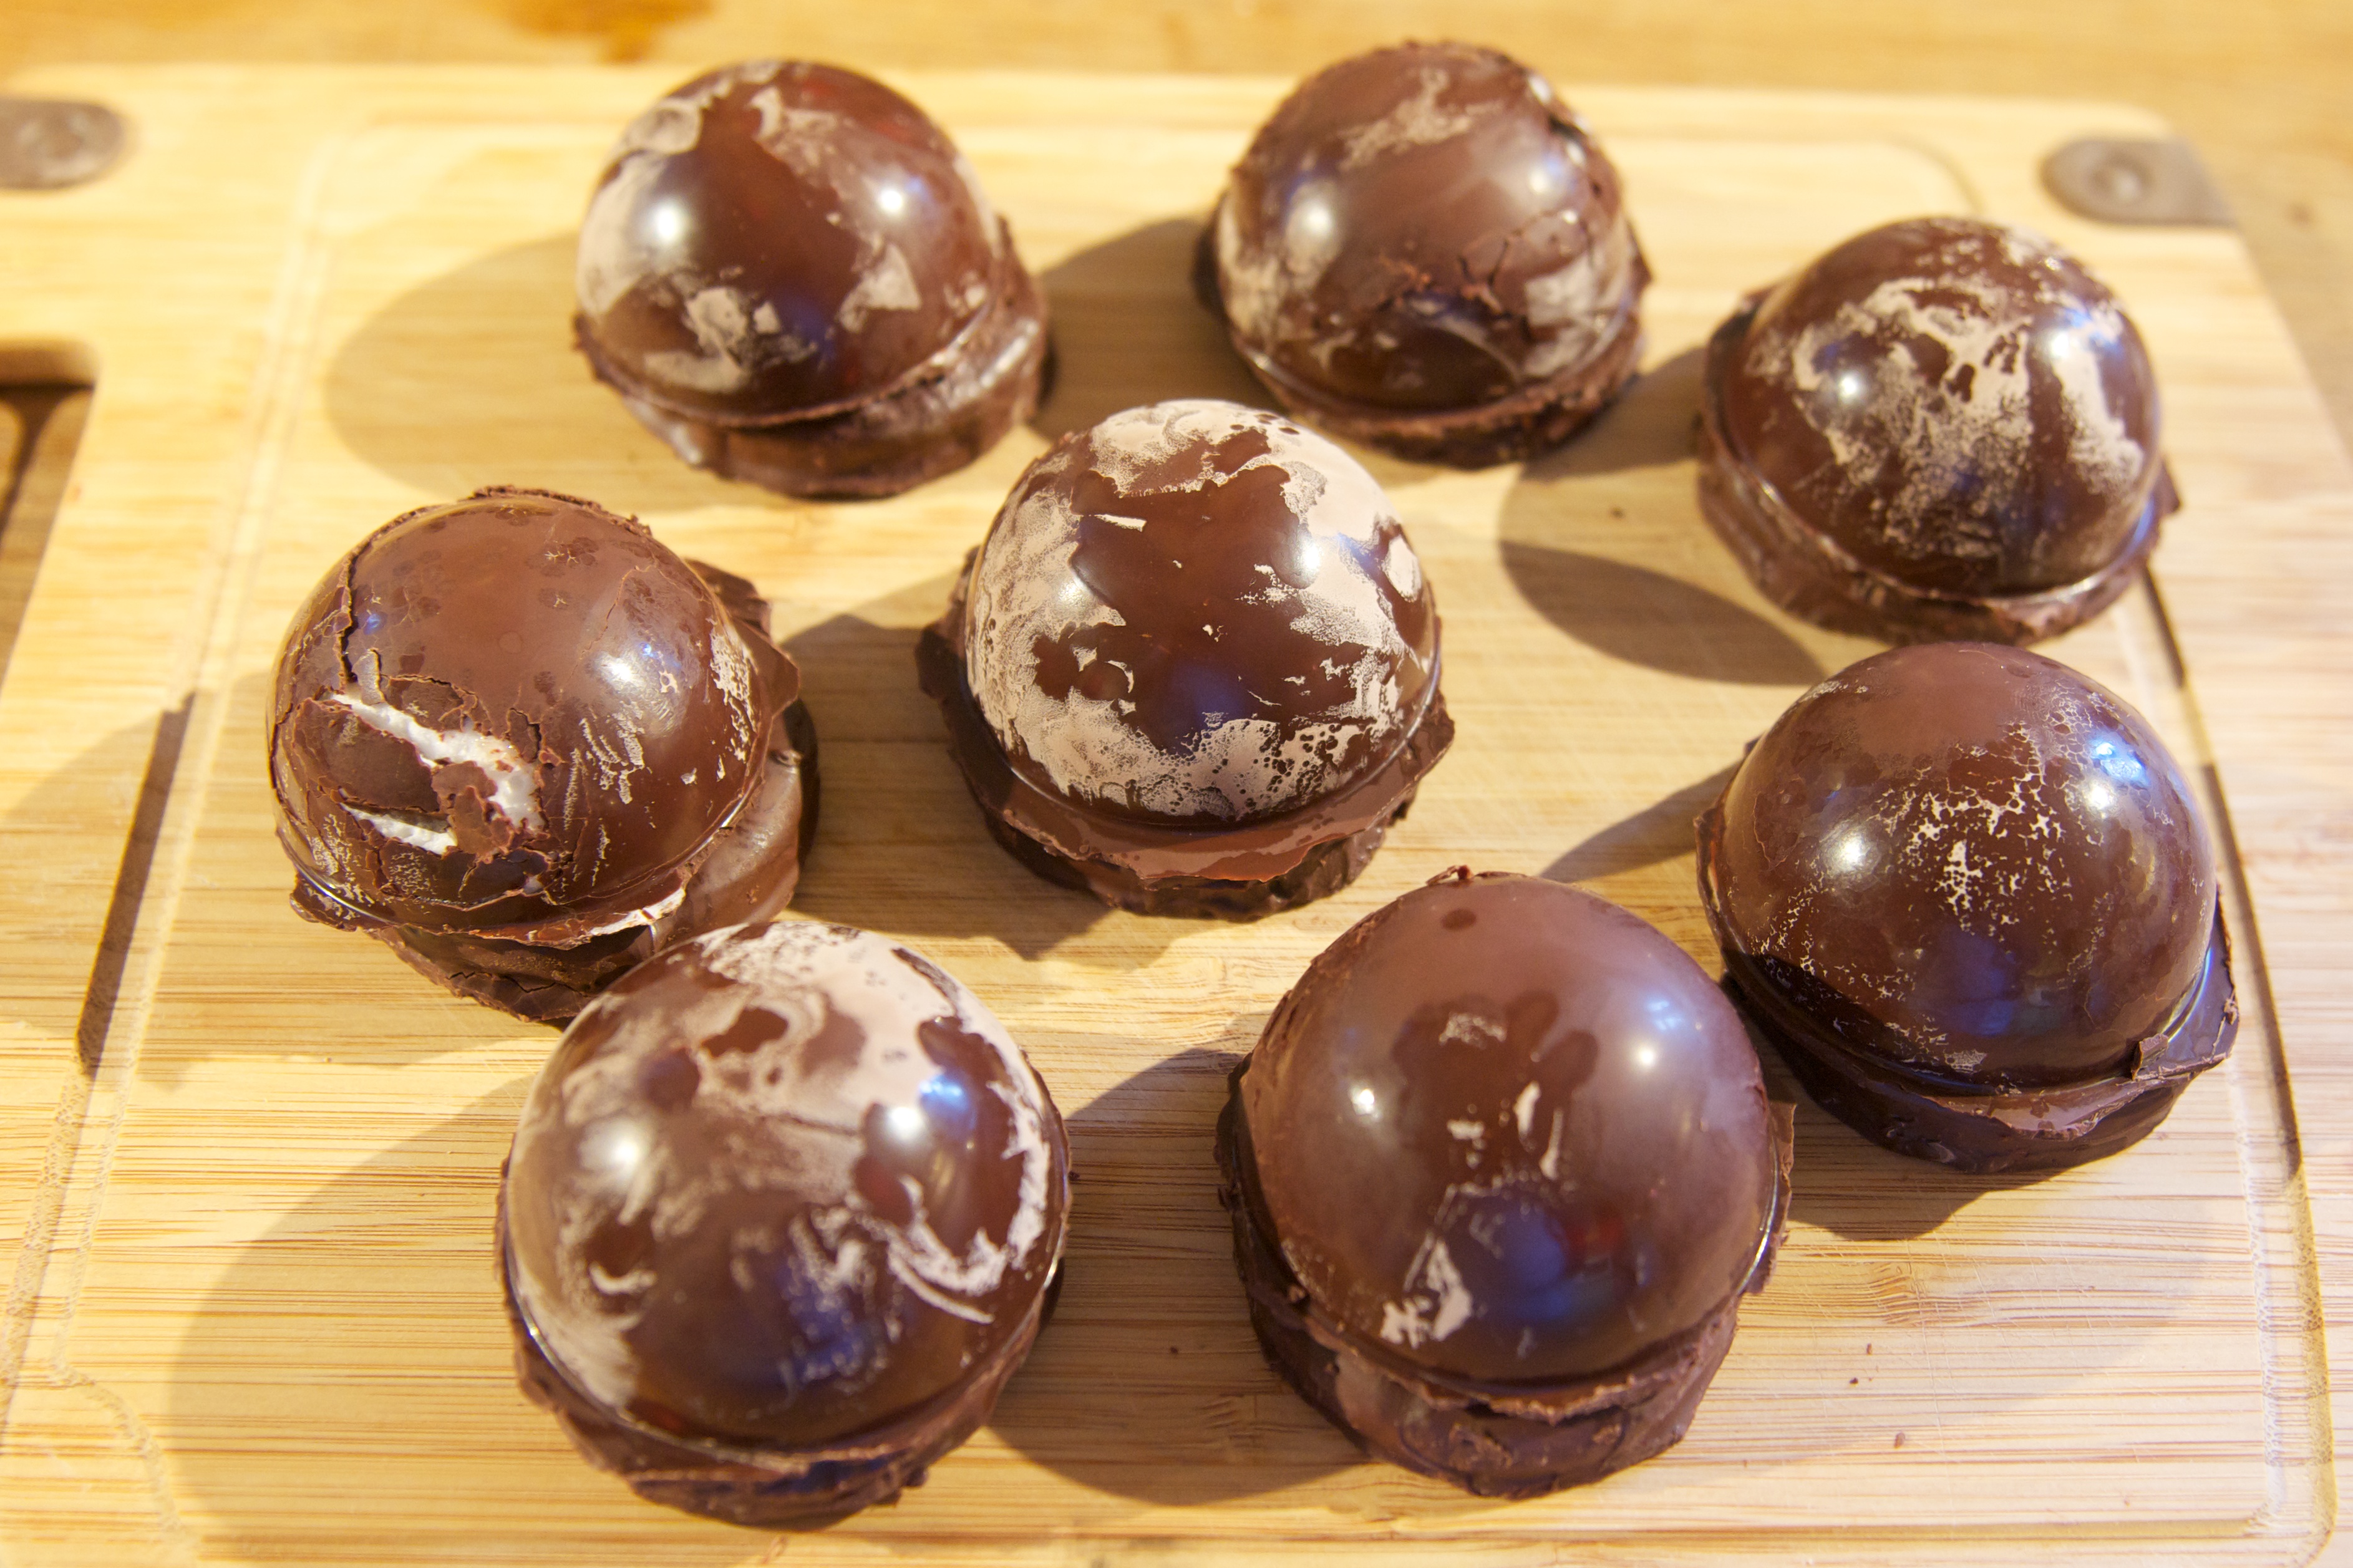
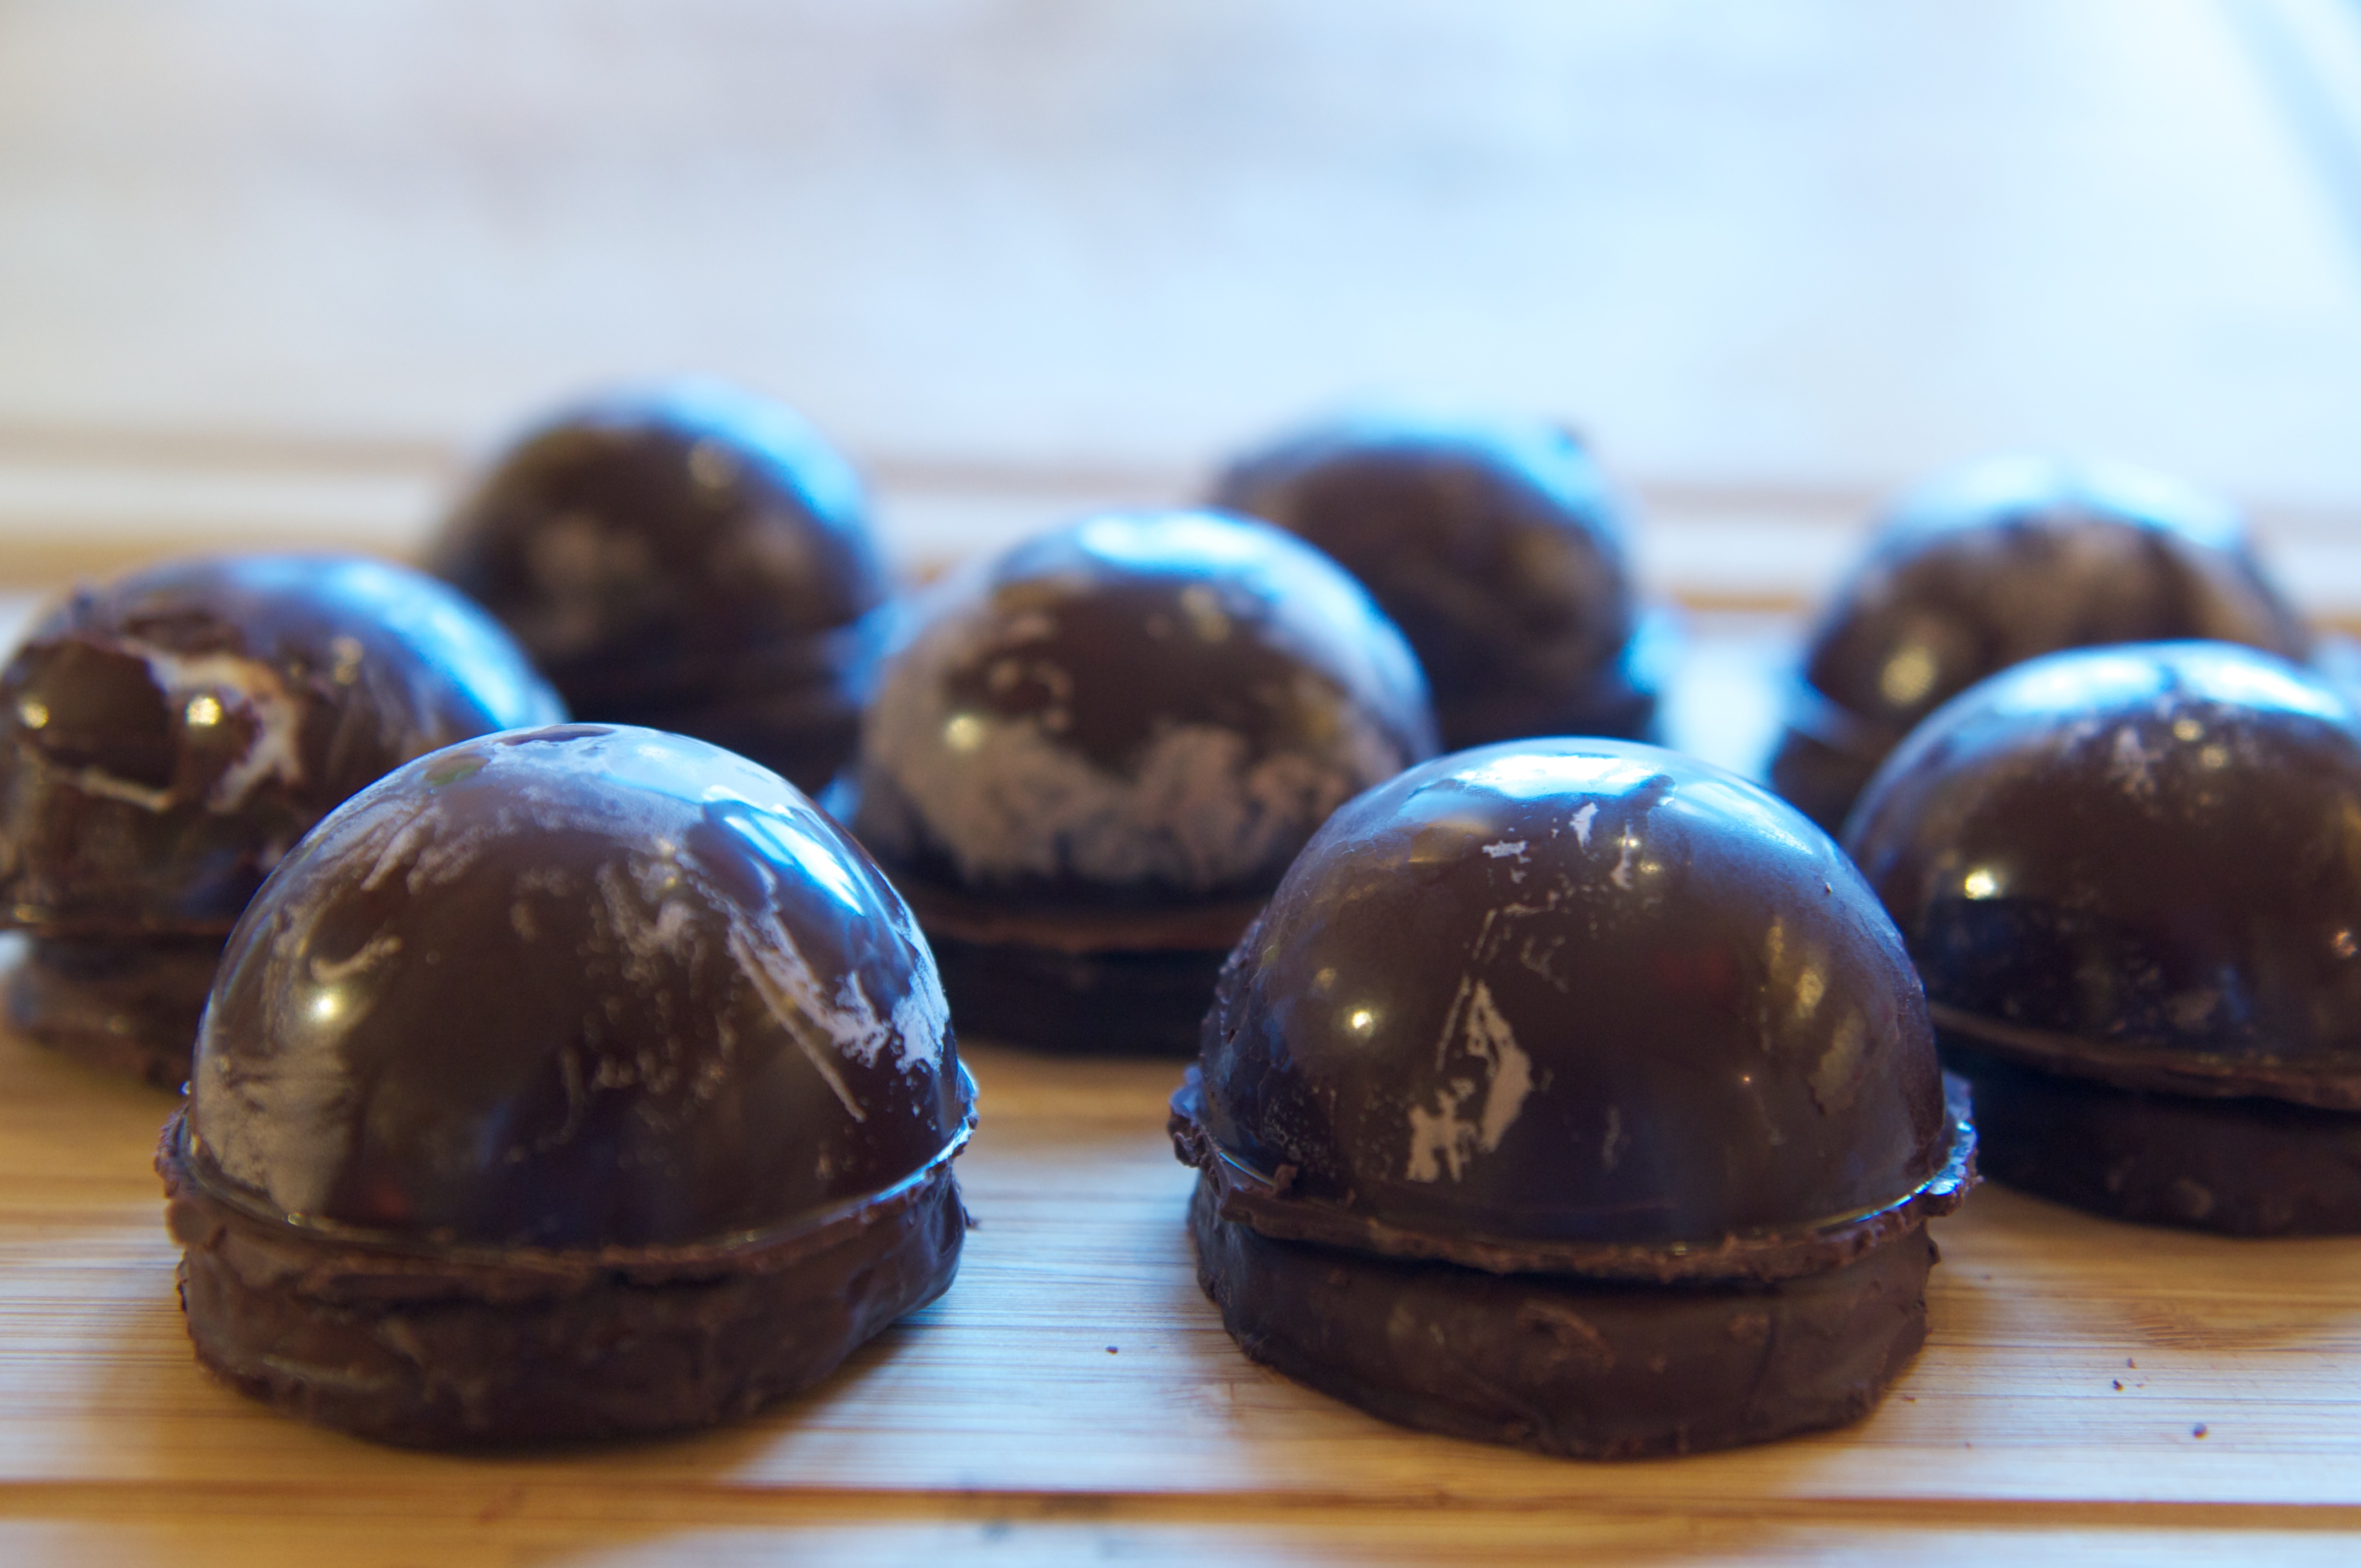
As you can see from the photograph, mine weren’t completely successful. A couple of them cracked as I released them from the mould, and the surface of the chocolate had developed a white bloom which detracts somewhat from the appearance. According to the original recipe, that would be because I used chocolate with higher cocoa solids. Next time I would use just the Green and Blacks Milk chocolate (which has 40% cocoa solids).
So, they’re not exactly the most elegant and beautiful looking things I’ve ever made, but they are absolutely delicious – the finest teacakes I’ve ever tried in my life. The combination of crisp biscuit, fluffy marshmallow and hard chocolate shell works wonderfully. They’re pretty substantial too – one is definitely enough with a cup of tea. I reckon these would also make for a rather nice dessert if you were cooking for friends. It was all a bit of a faffle, but I’ll certainly make them again. I’m sure the next lot will be even better!
I love a tea cake and would for sure eat these. Not sure I’d faff about with it all, mind.
Oh, they were definitely worth the effort!
Yum
Hi! I’m sorry,I’m from the US…what do you mean by whole grain flour? Would that be like whole wheat flour? Thanks!